
a superior version of the previous fairy lights greeting card...reloaded, in the matter of speaking.
...no fabric and no sewing needed, just micro fairy lights.
...no fabric and no sewing needed, just micro fairy lights.
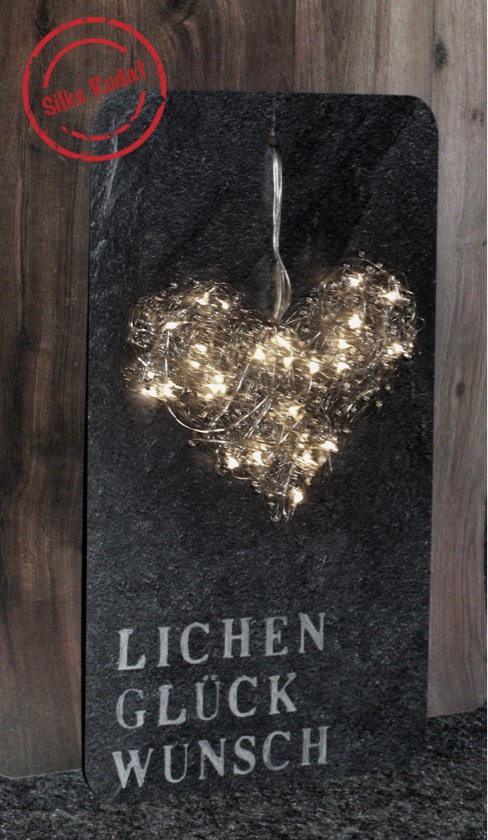
the great thing about micro fairy lights is, that they can be twisted and shaped into nearly everything...especially into hearts.
to make them a little bit more special and to give the heart a little bit 3-dimensionality, i added some beaded wires, which are also easy to be twisted and shaped.
...the heart looks really stunning with the lights switched on but it also looks really beautiful when the lights are switched off...i am in love...!!!


this is what you need

- laminate sample
- two micro fairy lights
- two metalic beaded wire garlands
- alphabet stencil
- thin silver pen
- scissors
- kraftpaper
- glue
this is what you have to do

- get your beaded wires ready

- unwrap the wires
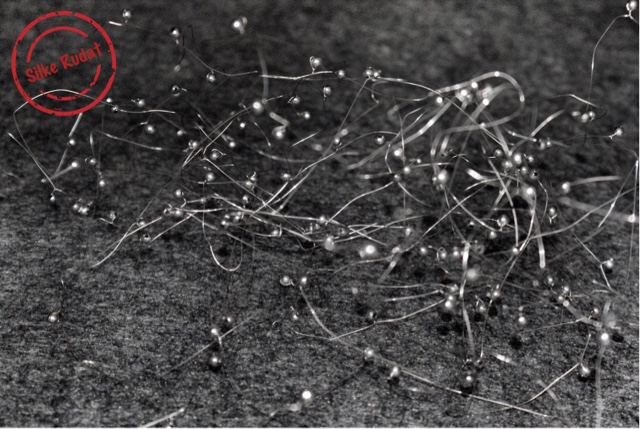

- twist and shape the wires into a heart shape


- add the second wire to the heart


- get the micro fairy lights ready

- unwrap the micro fairy lights

- add the micro fairy lights to the shaped heart


- get your laminate sample and your scissors ready

- make small cut above the pre-cut hole of the laminate sample

- pull the electric cord through the hole


- get yor stencil and your silver pen ready


- write down your wishes, using the stencils


- cover the battery pack at the backside of the greeting card with kraftpaper, please refer to:
http://silkerudat.blogspot.de/2016/05/wedding-anniversary-card-with-fairy.html
http://silkerudat.blogspot.de/2016/05/wedding-anniversary-card-with-fairy.html


i hope you like the reoaded version of the fairy lights greeting card 2.0 ... thank you very much for your visit...best regards...silke