...not that i usually send greeting cards to all my friends anniversaries...but this time...it was a bit different...first of all, i was surprisingly invited to the wedding and not only it was a really amazing celebration...it was the start of a sincere friendship with both the bride and the groom.
while looking for some inspiration for gift wrapping and birthday cards for two birthday parties this month, i came across the turquoise fairy lights and thought this is quite a broad hint.
...i had to take it and started thinking of how i could make use of it.
as i mentioned earlier, i was about to make a couple of birhtday cards so i decided to make an anniversary card in the same style...
...a laminate sample and a heart (makes a lot of sense for a marriage anniversary)...and of course the turquoise fairy lights.
and this is what i made.
...how i made it, you can see in the following pictured tutorial.


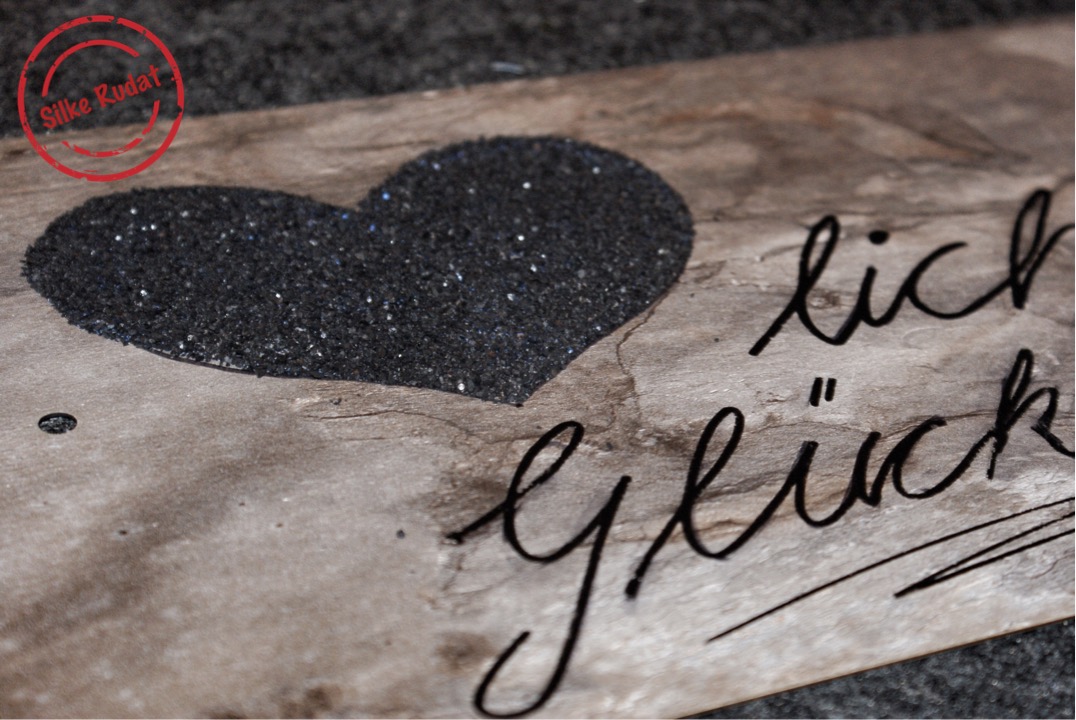
this is what you need

- laminate sample
- heart template
- fairy lights
- matching sequins
- transparent fabric
- pen
- scissors
- kraftpaper
- glue
- pins (not in the picture)
this is what you have to do

- get your fabric, template and scissors ready

- place the template onto the fabric

- cut out two hearts

- in case you need to line your fabric, repeat with your lining

- you should have to hearts of each fabric

- hold the hearts in place with your pins...inner fabric inside and outer fabric outside

- sew the hearts together

- leave an opening for the fairy lights

- insert the fairy lights

- close the opening

- close the seam with your sewing machine

- here it is

- a see-through fabric heart filled with fairy lights

- lightened up

- get the laminate sample and your scissors ready

- make a small cut above the hole of the laminate sample

- insert the cord of the fairy lights

- here we go

- doesn't it look beautiful already...???

- some sequins added
- illuminated

- the backside of the greeting card...not that beautiful

- get your kraftpaper and your scissors ready and cut out a piece slightly smaller than the laminate sample

- write down your kind wishes

- get your laminate sample and your glue ready

- adhere the paper onto the backside of the laminate sample

- just underneath the pre-cut hole

- the paper covers the battery pack and enables the presentee to lighten the fairy lights
- and done...an amazing wedding anniversary card for a turquoise anniversary of eighteen years of marriage


- i hope you have enjoyed my tutorial and the idea of a greeting card with fairy lights...thank you very much for stopping by...best regards...silke