...i
never actually thought about halloween decoration before...but then my
niece announced that she is going to through a halloween party this year
and i could not stop thinking what i could contribute.
as
i live five hundred kilometres away, i was thinking about a few bits
and pieces, which could be easily be sent by mail...yeah right, once you
started thinking about halloween and browsing through a few shops, you
quickly notice that even in germany there is a lot of halloween stuff
around.
...the funny thing is, i did not really buy any of those, but got insipired by a few things, which i had at home already.
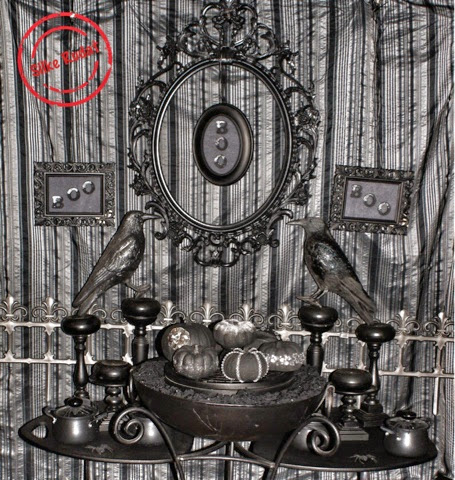
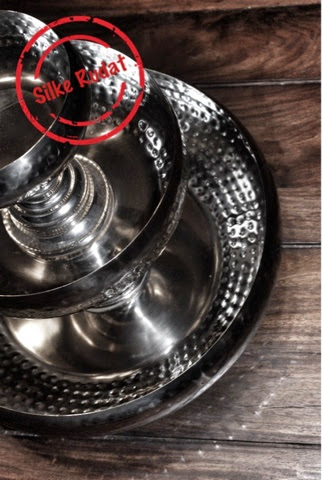
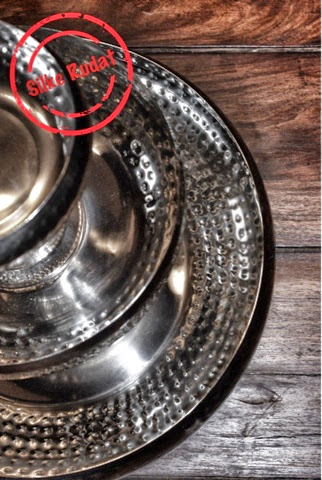
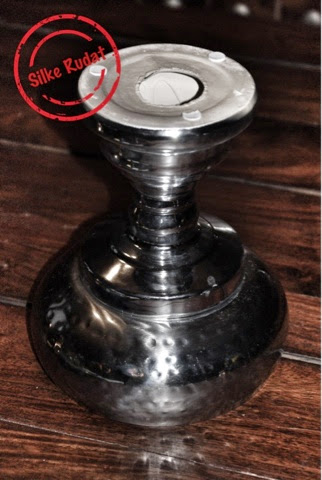
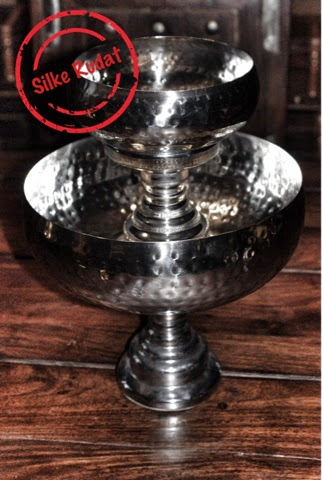
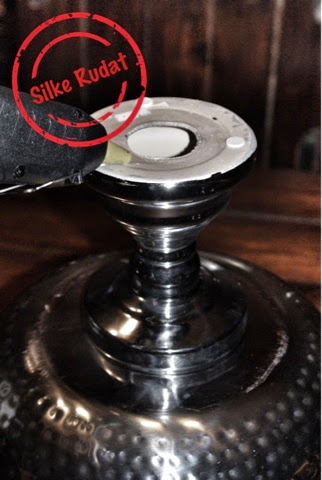
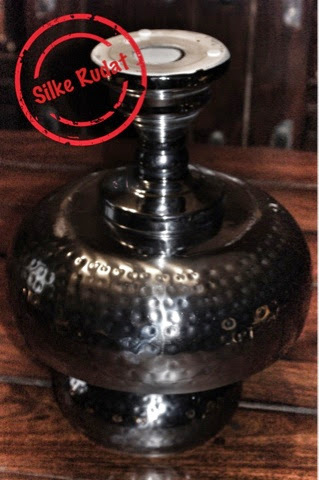
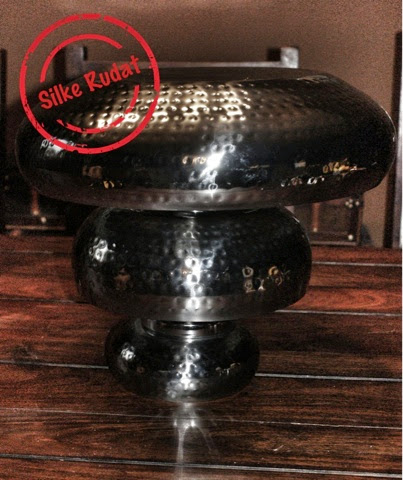
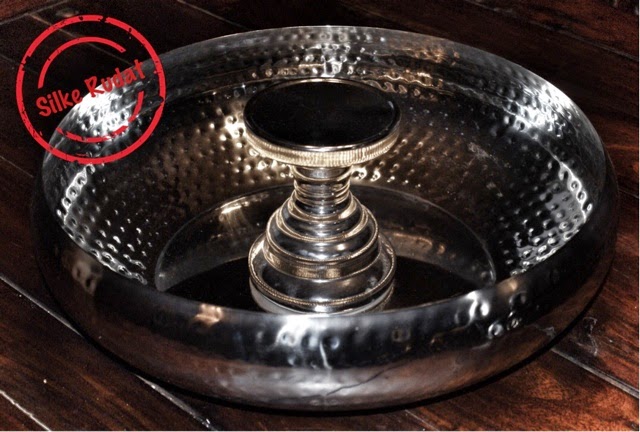
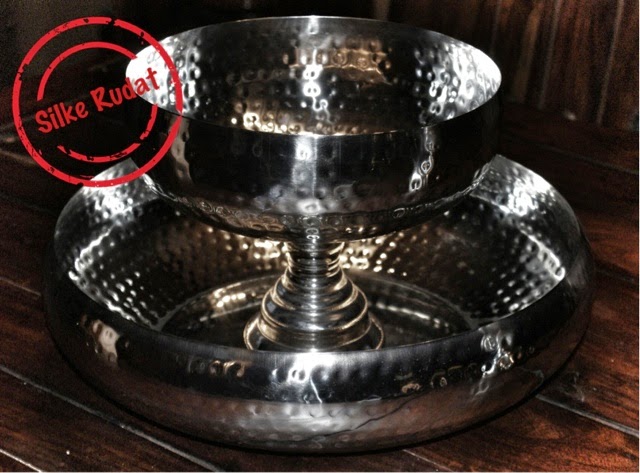
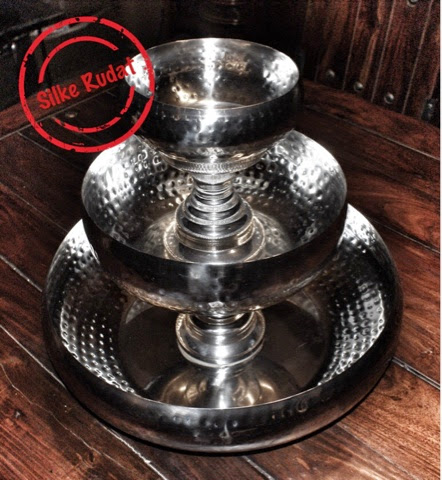
black picture frames i always have on hand, as well as black candle sticks and black bowls.
fabrics,
which haven't turned into designer pieces yet, paint and deco crystals
are other things, i could count on...so i just had to get some pumpkins
and i could start painting, gluing and decorating.
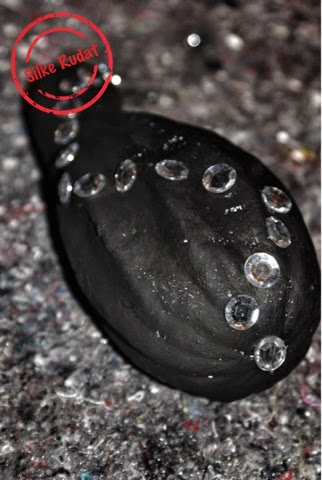
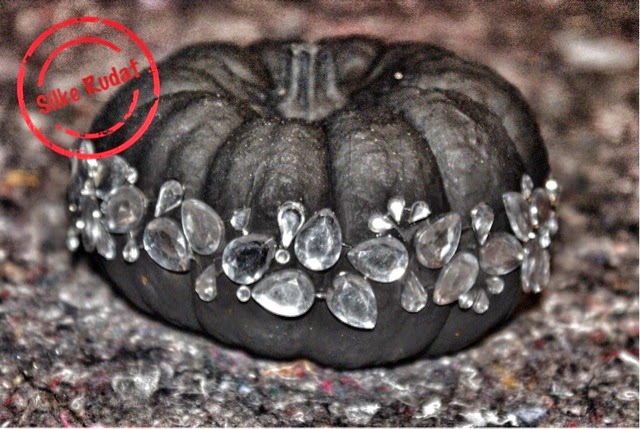
a little bling bling can never hurt...and i does look the best on black...perfekt for halloween.
the jewelled pumpkins are so easy to make and more or less self explanatory, but still there is little tutorial.
...ohh
needlesss to say, that i am not sending anything by post, i decided to
hop on a train and deliver my contribution to my nieces halloween party
personally.
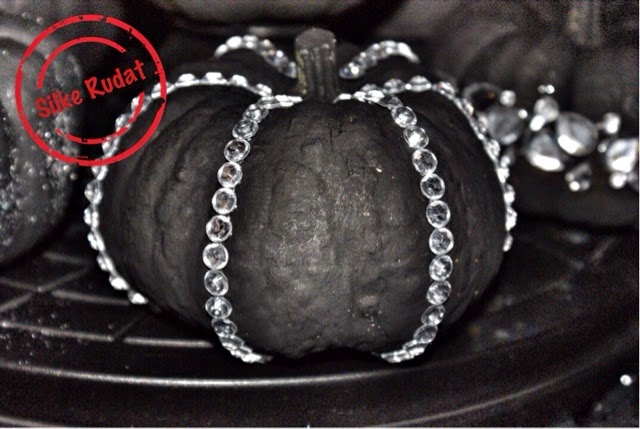
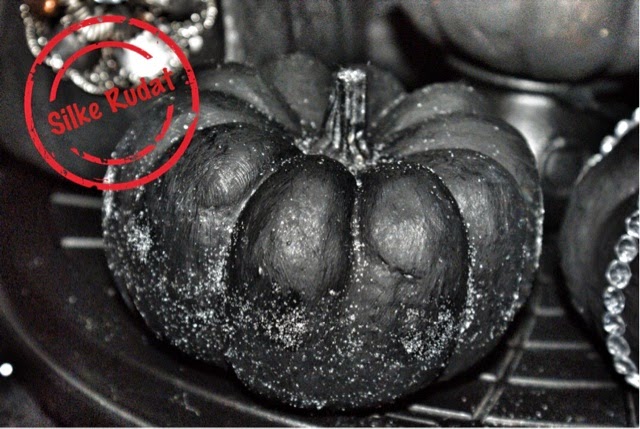
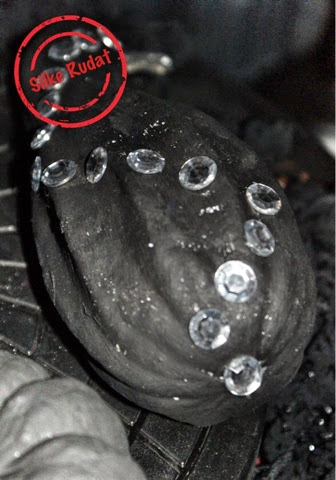
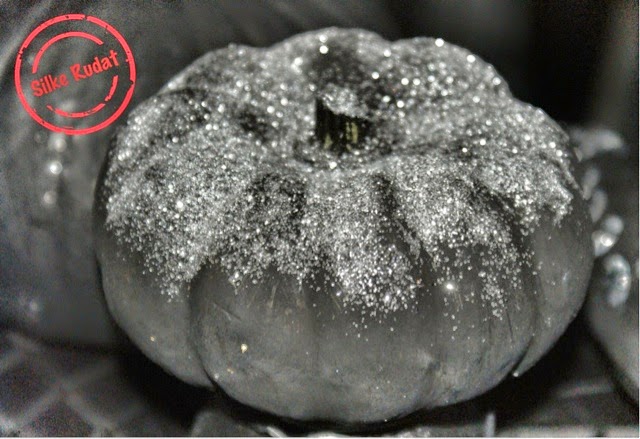
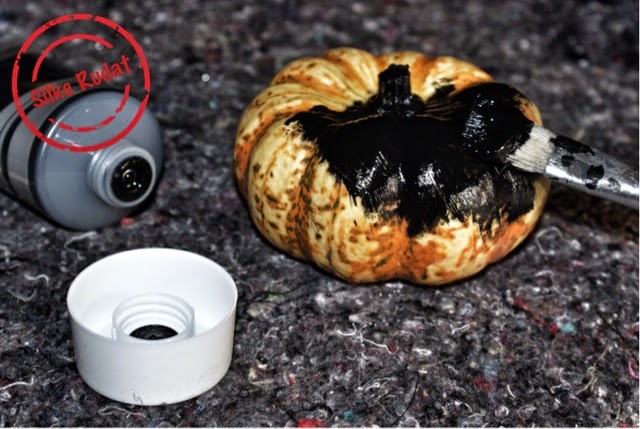
this what you need
- a few mini pumpkins
- black paint
- brush
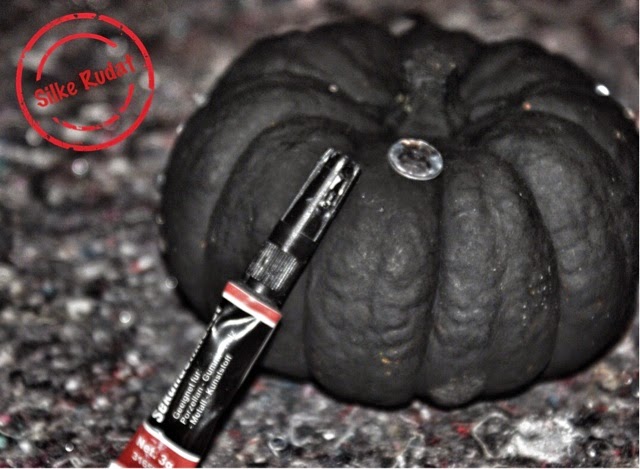
- crystal stones
- glue
- glitter
this is what you have to do
- paint your pumpkins
- adhere the stones onto the pumpkins
- apply some glue to the pumpkins
- drizzle some glitter onto the glue
and that it is...the variations are just endless
i am done and ready for halloween... i hope my niece does like the decoration and can use some of the stuff for her halloween party...thanks for stopping by...best regards...silke