
i do not have any stairs in my home...so there is actually even less need for a slinky in my life than ever before...but still i wanted one...and i was sure i would find a purpose for it...and yes...i did.
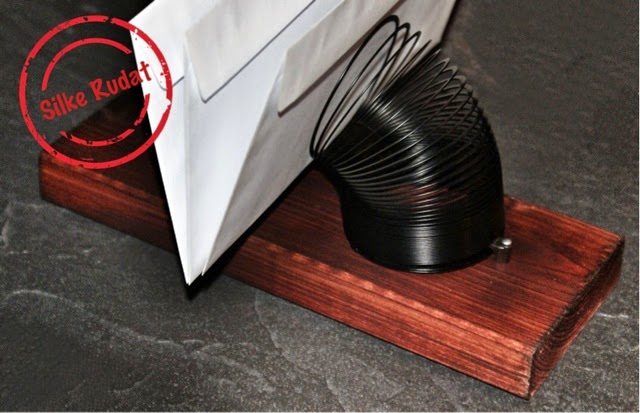
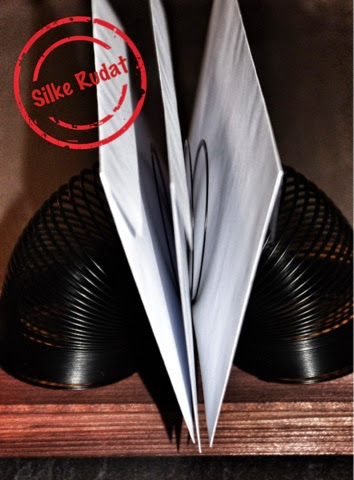
...a mail holder...makes sense..what do you think...???
i needed something to organize my mail anyways...i hate all this letters, i am not interesting in and it always takes ages for me to finally open them...so why not keeping them in place.
...it only took me to another trip to the hardware store and then i could get started.
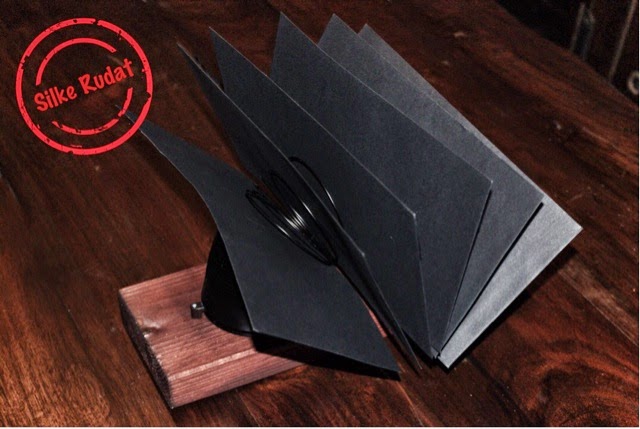
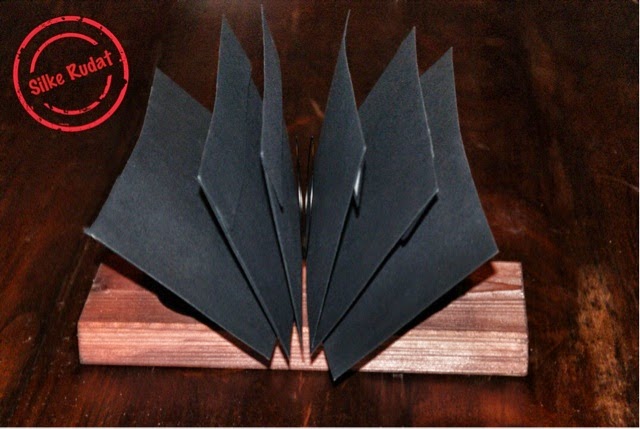
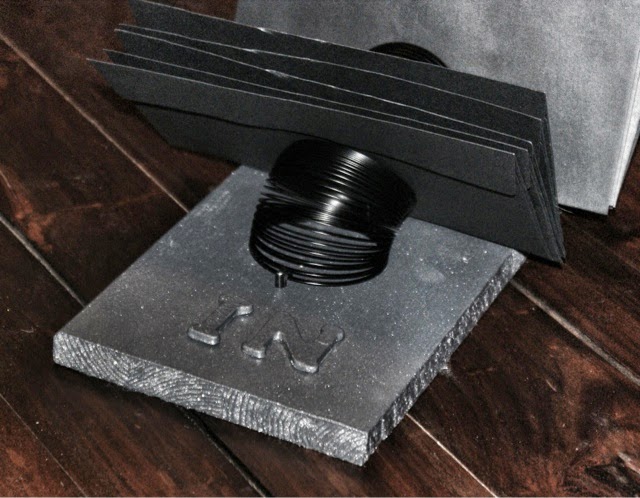
i ended up with two versions...a plain wooded one and a metallic painted one with handmade relief letters.


this is what you need
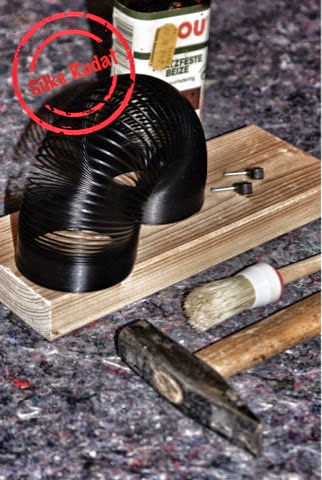
- slinky toy
- wooden board
- paint
- brush
- two circle cable clamps
- hammer
- handmade letters ( optional)
here a few ideas on how to make your own letters

- in case you haven't heard of circular cable clamps...here is a close-up
this is what you have to do

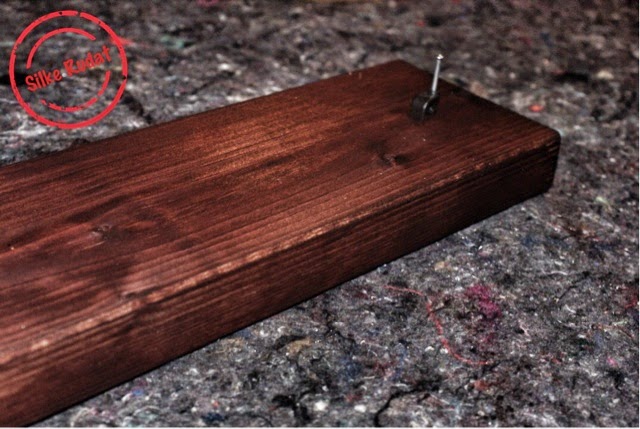
- paint your wooden board

- i was actually too lazy to sand the board first

...and it did not make any difference

- choose a position for the first clamp close to the edge of the board

- place the least circle of one end of the slinky underneath the first clamp
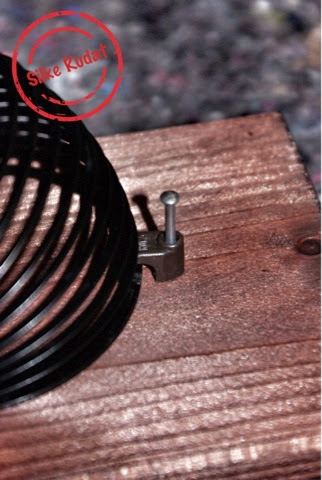
- fix the clamp by nailing it with a hammer
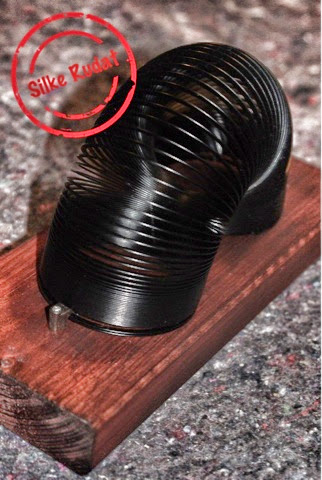
- repeat with the other side

- and that's it


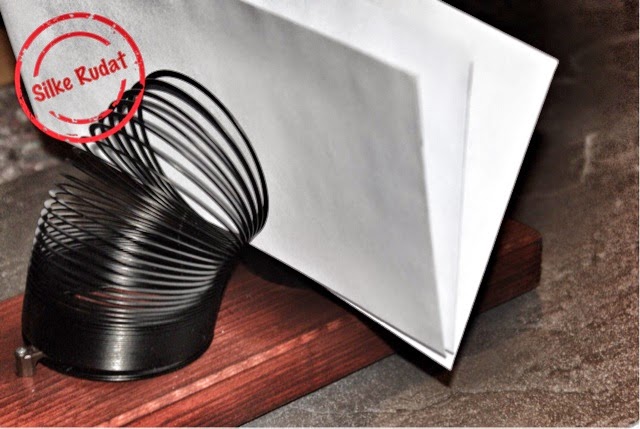
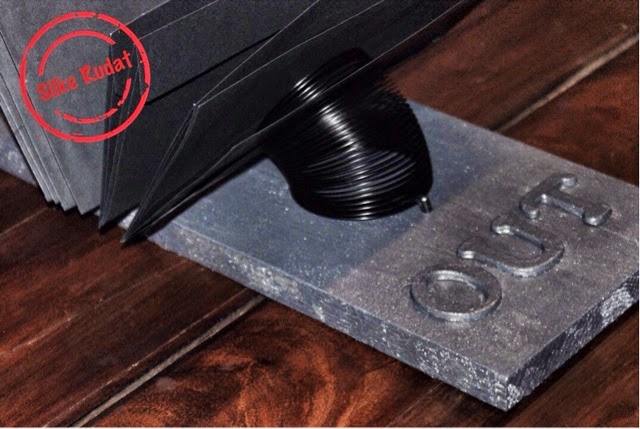
- now you only have to place your letters into the slinky
if you wish you can add IN and OUT to your mail holder to differenciate between your incoming and outcoming mail.

... i hope i could inspire you a little bit...hope you enjoyed the tutorial...thank you so much for stopping by...best regards...silke