the inspirations for this post are actually the diy moroccan lantern posts, which can be found all around the net...just not that colourful, not made with mason jars...and...not that beautiful.
i very much liked the idea of the glass and the puffy paint, but due to my obsession that everything has to be colour-coordinated in my life, i went for plain glasses and metalic dark grey paint.
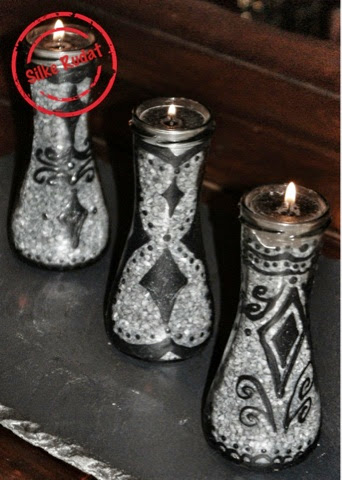
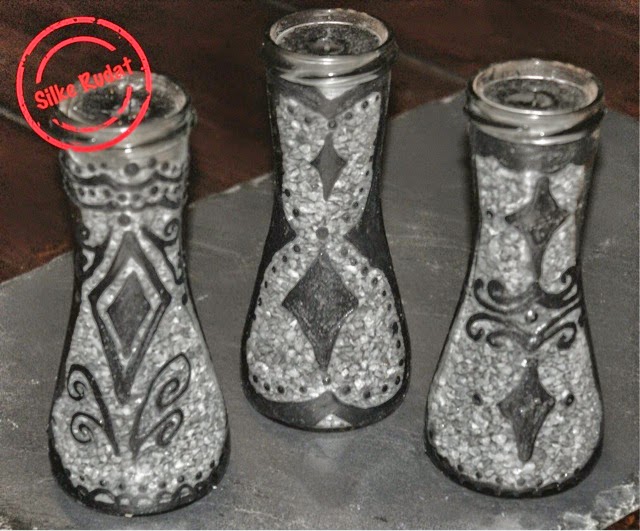
...and i did not use traditional mason jars...i used some beautiful conical shaped bottles, which initially contained salad dressing...yeah...shame on me...but i only bought the first one because of the salad dressing, the others just because of the shape...it was worth it though.
this project was one of my "oh-my-god-will-i-able-to-do-this" projects...no...i am clearly not talented enough to do it right.
...as i mentioned in one of my previous posts, i just can neither draw...nor artistically paint...i just cannot.
i did a lot of researches and read a lot of "diy moroccan lantern" posts, and what can i say all other creative bloggers are real artist, they all just took a glass jar, a puffy paint pen and beautifully painted their jars...just like this, no preparation, no pattern, no template...wow...i wish i could have this done myself.
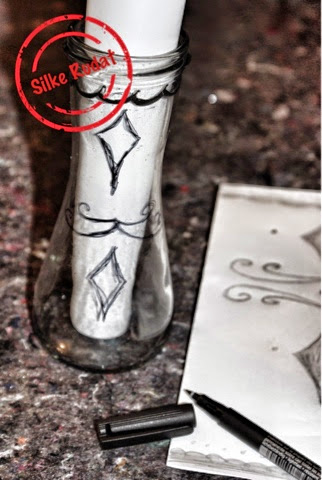
...as you will notice in my tutorial, i had to think of a pattern first, then i had to draw the pattern onto a piece of paper, then i had to draw it onto the glass bottle by using a removable marker and then i finally traced the pattern with the puffy paint pen.
and guess what...it still looks like my four year old nephew mika would have drawn it...sorry mika..no insult...i know that you could have done it way better than me.
...anyhow...i still like them, i just have to keep them for myself...definitely they won't make a gift for anyone.
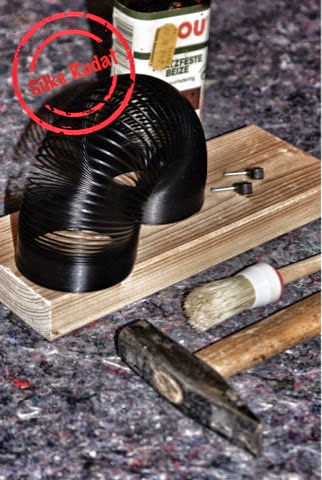
a long story finally comes to an end...and here comes the tutorial
this is what you need
- conical shaped glass bottle
- puffy paint pen
- a few pieces of plain paper
- pencil
- eraser (just in case)
- removable marker
this is what you have to do
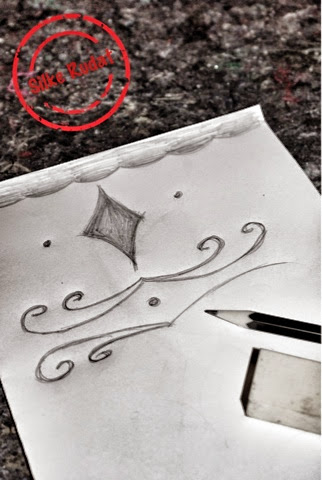
- first i was thinking of a pattern
- then i drew the pattern onto a piece of paper
- i had to amend the pattern a couple of times
- to make it easier to draw the pattern on the glass bottle, i inserted a another plain piece of paper in the bottle
- and then traced the lines with the puffy paint pen
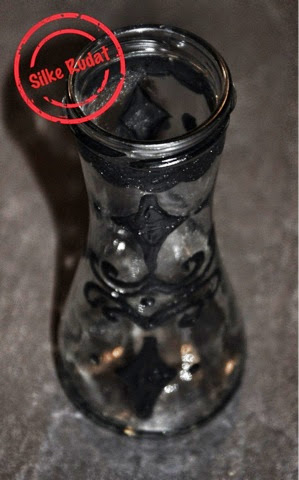
- the marker lines could be easily removed with a cotton bud and nail polish remover
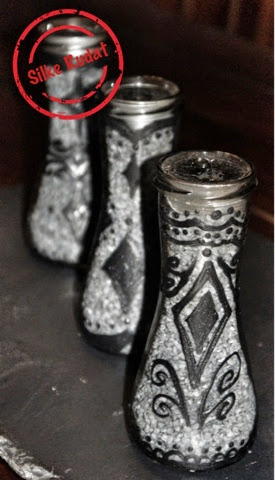
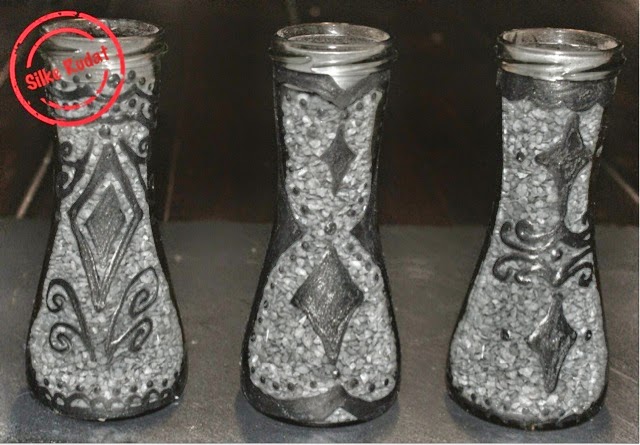
- i actually filled up the bottle with decoration sand only for the picture, before i even thought about using the bottles as candle sticks
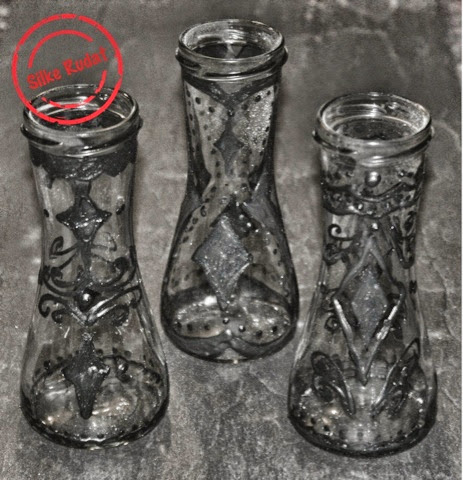
- as i had two more bottles left, i thought about two more pattern and repeated the process with the remaining ones
...drawing the pattern onto the bottle using the marker
- tracing the pattern with the puffy paint pen
- filling up with sand
- repeating everything with the last bottle
- and that it is...the imperfect puffy painted glass bottles, which turned into candle holders
i hope you still enjoyed the tutorial...thank you very much visiting my site...best regard...silke


