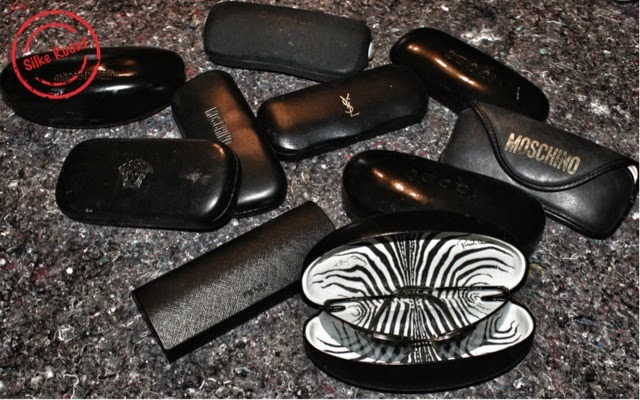
sunglasses...one of things you might have one or two of, or even more...especially if you have reached a certain age you can't get rid of the stuff you like.
i used to keep them in a drawer...so far so good...but usually i grap the top ones first and forget about the sunglasses in the very back end of the drawer...what a shame.
...another storage idea had to be found where i can see and reach all my sunnies...and surprisingly it was found in a...yes...hardware store.
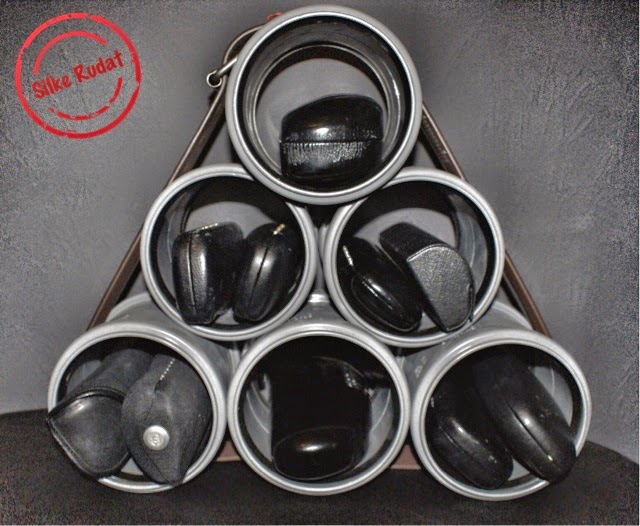
slip drain couplers are the solution...they do come in a various sizes and colours and luckily as well in grey...that means...nothing much that i had to do with them...no painting, no decopatching, no gluing...just attaching...ohhh i like that...sometimes.


this is what you need

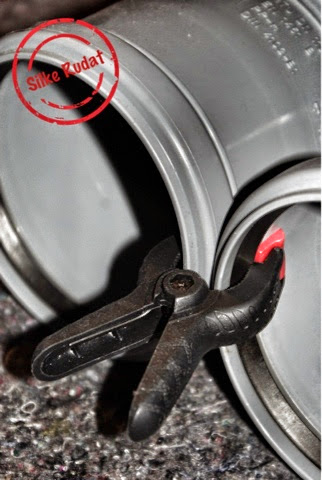
- two spring clamps
- one leather belt
this is what you have to do


- attach a second coupling to the first one using a spring clamp

- use a third coupling and the second clamp to create the base of the pyramid


- stack two more couplings on top of the base, no need securing those with another clamp
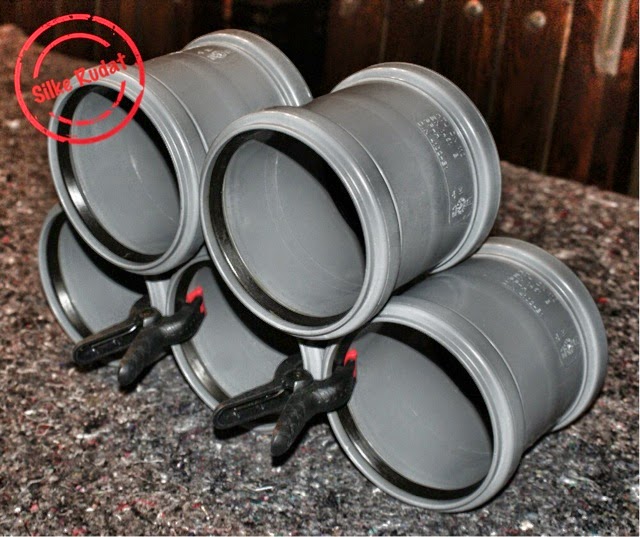

- finally place the last coupler on the top of the second coupler row
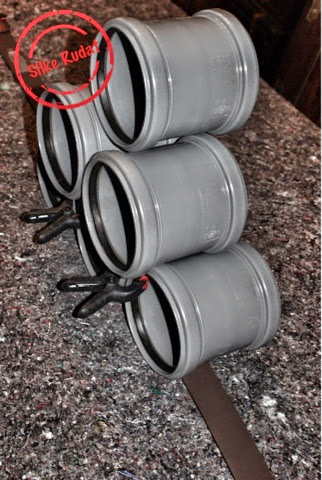
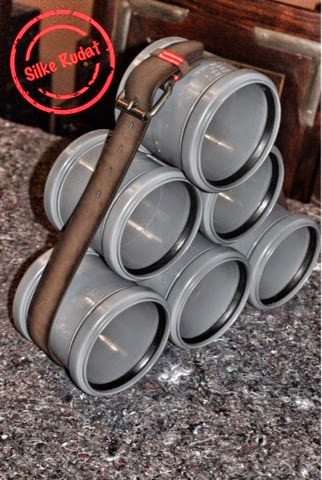
- place the coupling pyramid onto the leather belt
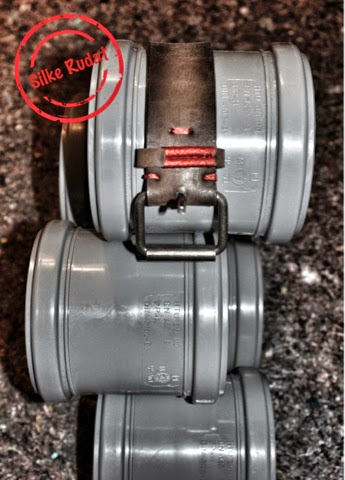
- wrap the belt around the pyramid

-fasten the belt

- secure the belt as tight as possible
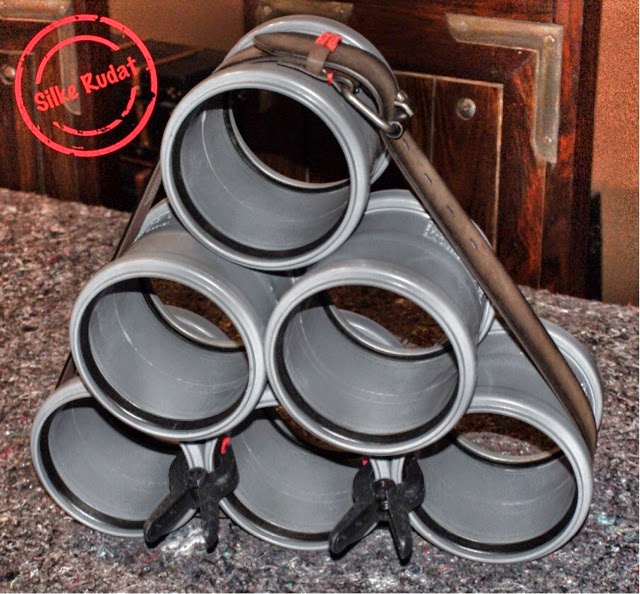
- carefully remove the clamps

- if you feel the construction isn't secure, you can either glue or screw the couplers together


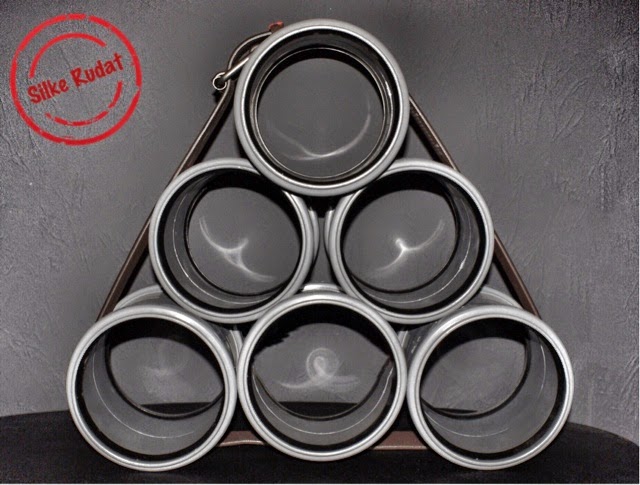

you can easily hang the storage pyramid onto your wall.

the inspiration for the pipe and belt storage i got from here
i hope you enjoyed the tutorial...best regards, silke