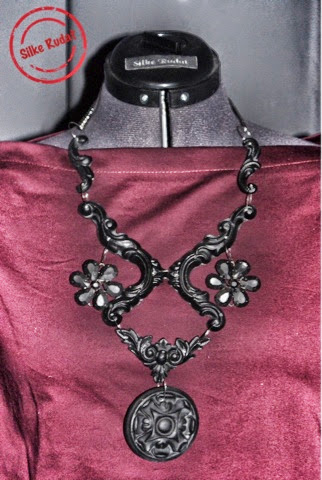
ohhh...i totally had a crush on this necklace, the second i saw this necklace somewhere on the net...i had to have one of those...and luckily it wasn't just an advert or a picture...no a tutorial...lucky me.
looking at the tutorial, i learnt the inspiration for this beautiful necklace is a desinger necklace from proenza schouler...okay...i can live with that.
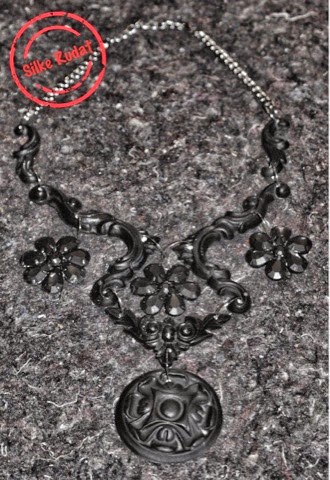
this necklace is a gift for my sister-in-law...but of course i had to do one for myself and learnt a few things from the making of it.
first of all...no need to be extra careful, when it comes to drilling the ornaments...do not drill from the backside of the ornaments, as it is difficult to find the exact position...
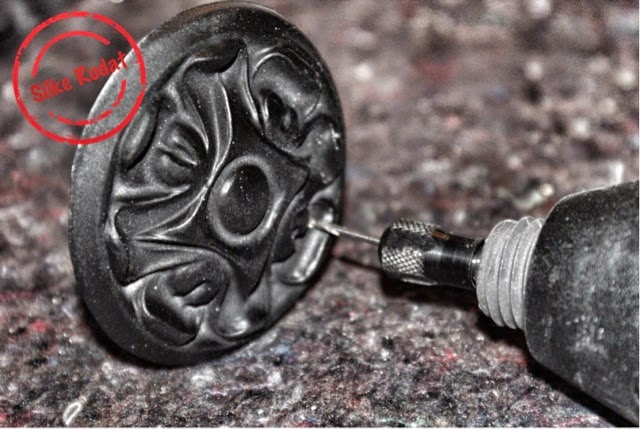
second...try to drill the hole as close to edges as you can...otherwise you have to live with huge jump rings, which do not look that elegant and are also difficult to get.
third...no need to spray-paint the ornaments from the back...the colour might come off...yes, this happened to me.
fourth...check if the finished necklace is assembled in the right way, before you take the picture and give the necklace away....yes...i made a mistake with the small upper parts and luckliy i figured it out just before the gift wrapping.
other than that...this necklace is really easy to make, it took a bit of time to make the ornaments, but it was so worth it.
i hope you enjoy the tutorial...best regards...silke
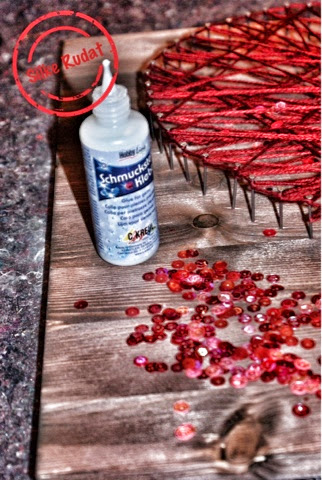
this is what you need
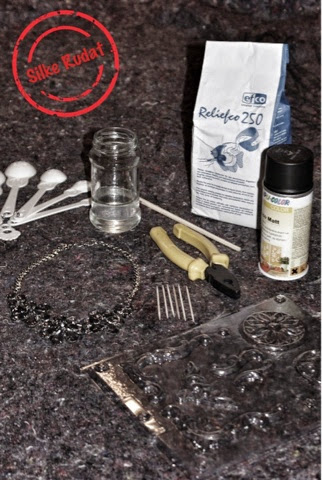
- ornament moulds
- fine ceramic casting powder
- water
- measuring cups
- silicone bowl or any other container, you are willing to through away afterwards
- drill
- fine drill bit
- pliers
- spray-paint
- an inexpensive necklace
- jumps rings
this is what you have to do

- pour one part of water into your mixing bowl

- slowly sprinkle in three parts of the casting powder

- in order to avoid lumps leave to stand for one minute and do not stir
- then stir the mixture for a minute in the same direction

- pour 1/3 of the prepared casting compound into the relief moulds
- distribute the mixture evenly

- fill the form completely
- the drying process takes about 30 minutes

- to remove the relief figures lay the mould upside down on a flat and firm surface
- carefully lift the moulds on all sides

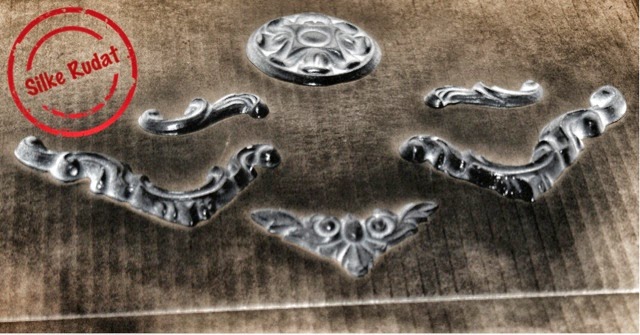
- they come out really easy

- spread out your ornaments
- spray-paint the relief ornaments, you might have to repeat this a couple of times

- get the ornaments ready and choose the position of each ornament within your necklace and mark the position for the holes
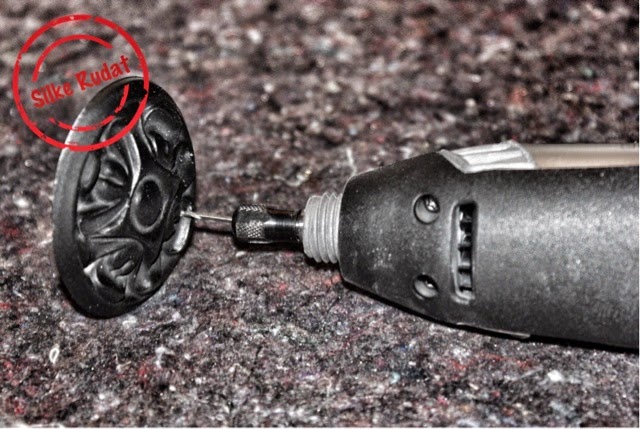
- carefully drill your holes
- attach all ornaments to each other using your jump rings
- attach your purchased necklace to your ornaments using your pliers
- if you like, you can spray-paint the pendants of the purchased necklace and add to you ornaments, too