...using mousetraps for crafting came into my mind quite some time ago...i did like the most obvious idea to use them as memo clips...but i've made so many memo boards already...so another idea had to come i to my mind.
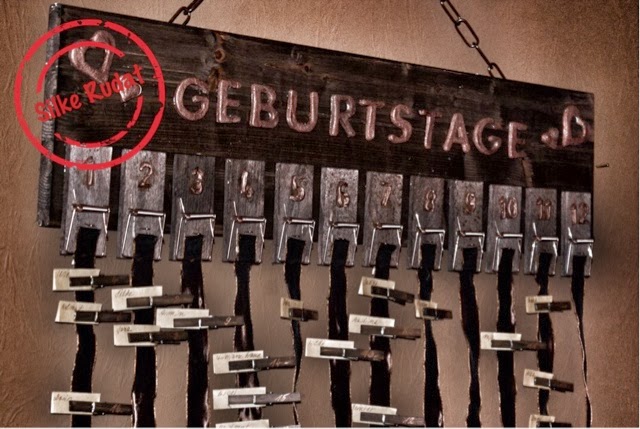
as i was looking for a new birthday calendar for my mom's birthday...i thought i could give a mousetrap birthday calendar a go.
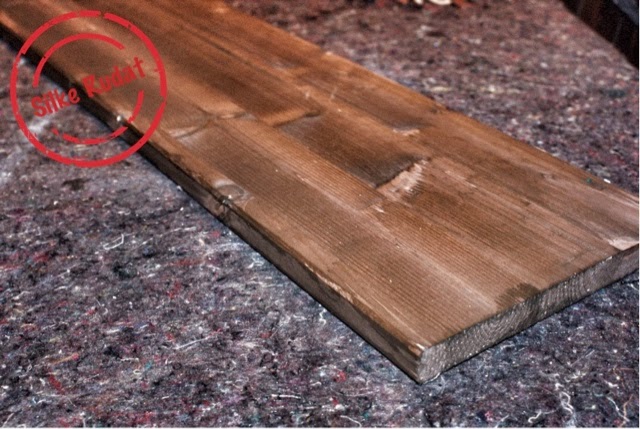
...i love a dark wood finish and it goes so well with the copper metal clips of the mouse traps...so i decided to minimize the colours of the birthday calendar...dark wood and copper...that's it.
as many times before...while crafting the project did develop during the process and it is not excatly that...what i initially planned.
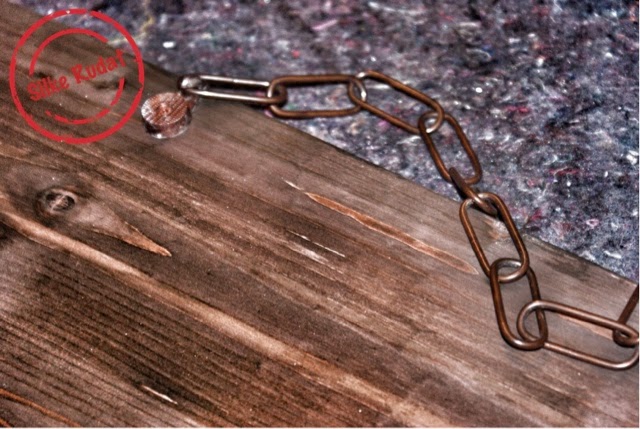
...i wanted to use copper chains instead of ribbons and painting the numbers onto the mouse traps instead of making self drying clay numbers and gluing them...so at the end the birthday calendar turned out even more beautiful.
i guess this wasn't the last time, i used mouse traps...and copper.
hopefully you'll get a little inspired and enjoy the tutorial.
sincerely...silke
this is what you need
- plain wood board
- 12 mouse traps
- wood stain paint
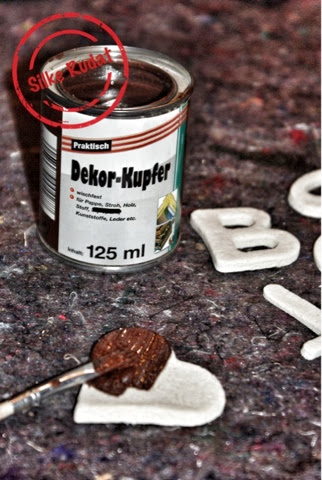
- copper paint
- brushes
- sanding paper
- number stencils
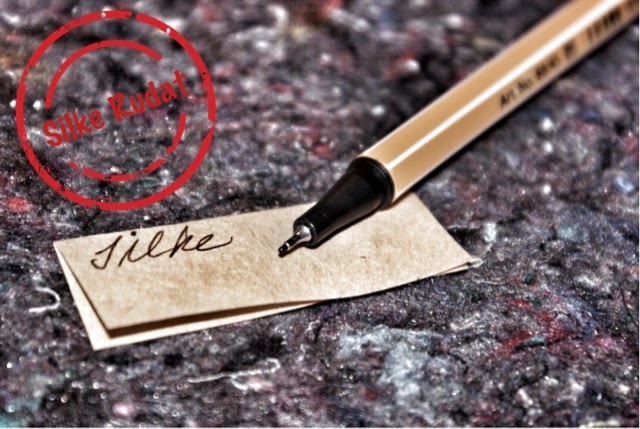
- copper pen
- brown paint
- copper chain
- 6m brown ribbon
- scissors
- home made salt dough letters
- plain wood laundry pegs
- brown pen
- 2 picture hooks
- hammer
- hot glue gun
- ruler
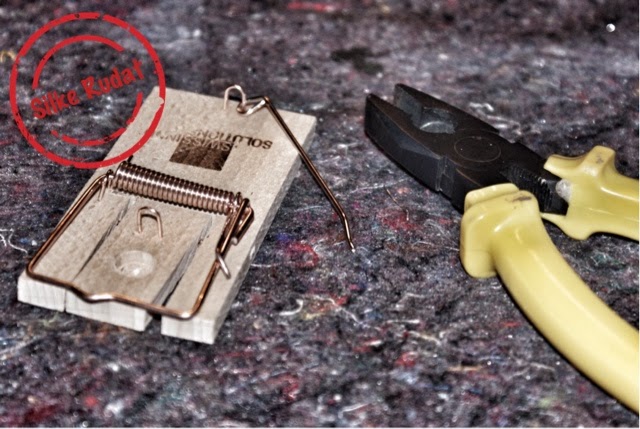
- pliers
this is what you have to do
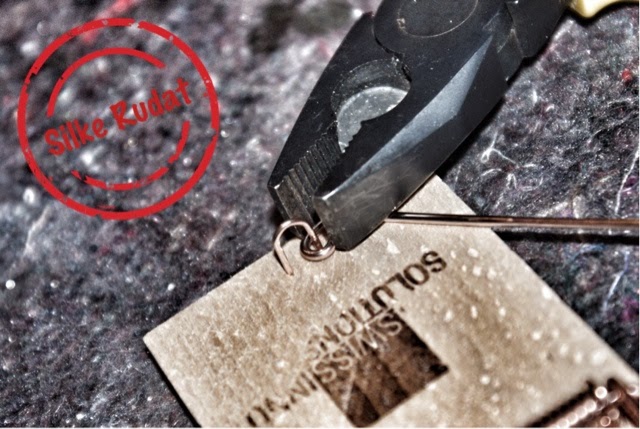
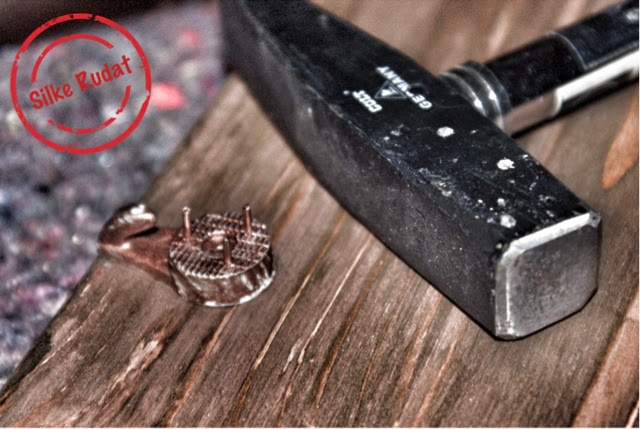
- get your mousetraps and your pliers ready
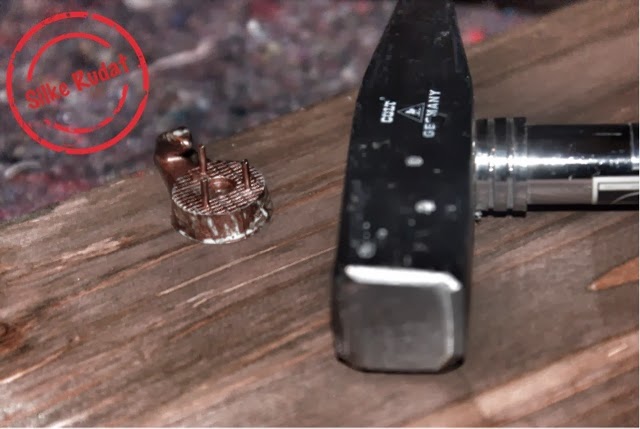
- remove all the copper pieces of the mousetrap, that you do not need...you might just keep the clips
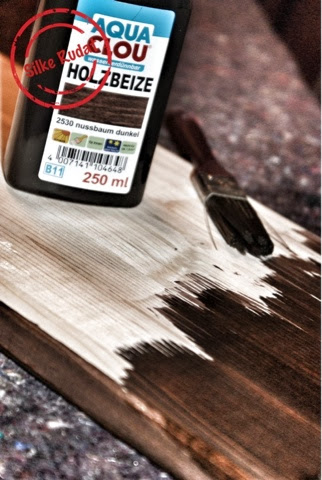
- apply the wood stain paint to your mousetrap
- sand your wooden board
- paint the entire board
- paint all your clothes pegs from both sides
- spread your salt dough letters onto your working surface
- recipe for salt dough
- 2 cups flour
- 1 cup salt
- 1 cup water
- 1 tsp oil
- mix all ingredients until you have a firm dough
- roll out dough
- cut out letters
- let the letters dry overnight
- turn the letters and dry form the other side
- pre-heated oven at 50 degrees
- bake the letters for 1 to 2 hours
- let the letters cool down
 |
| Add caption |
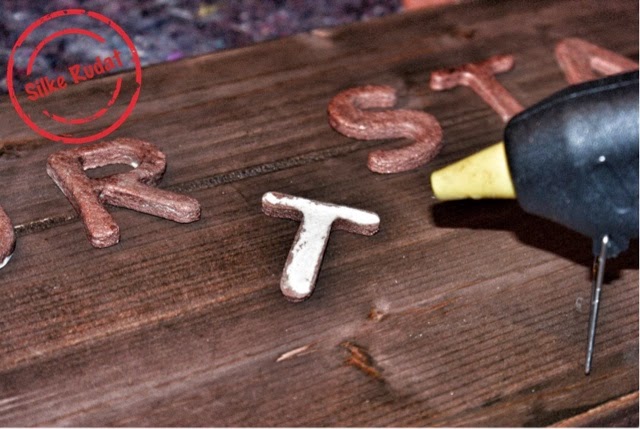
- paint the letters with copper paint
- let them dry
- attach the picture hooks onto the backsisde of the board
- any other hook will do as well, but if i haven't had any other and i am really happy with the result, i can really recommend those
- attach the copper chain to the hooks
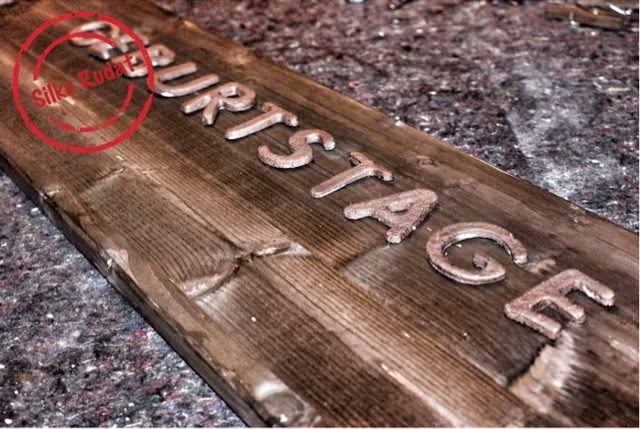
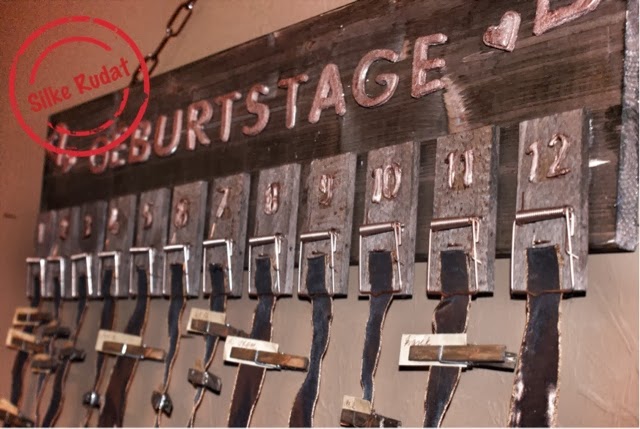
- place the writing onto the board, use a ruler for the right position
- by the way: "geburtstage" is the german word for "birthdays"
- hot glue the letters onto the board
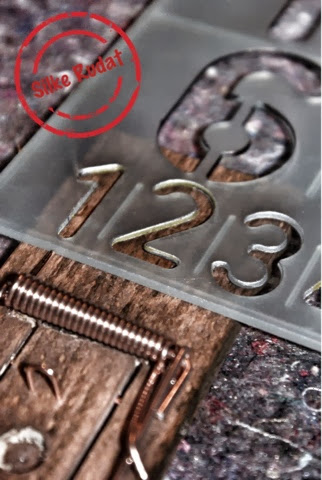
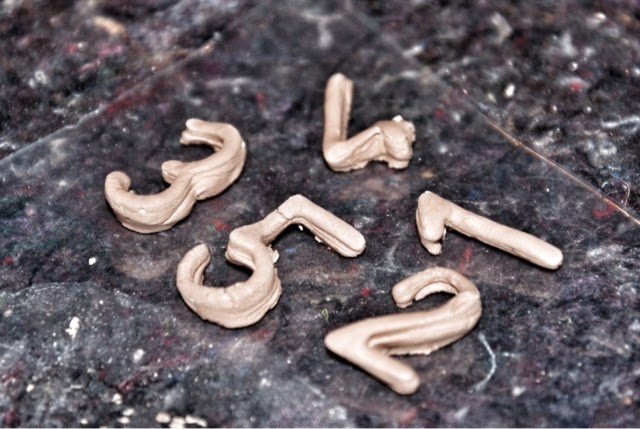
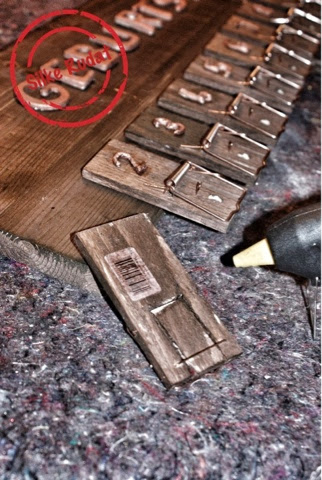
- using my favourite stencils, i only wanted to paint the numbers onto the mousetraps
- i did not really like it turned out, i felt the numbers neeeded to be a bit more visible
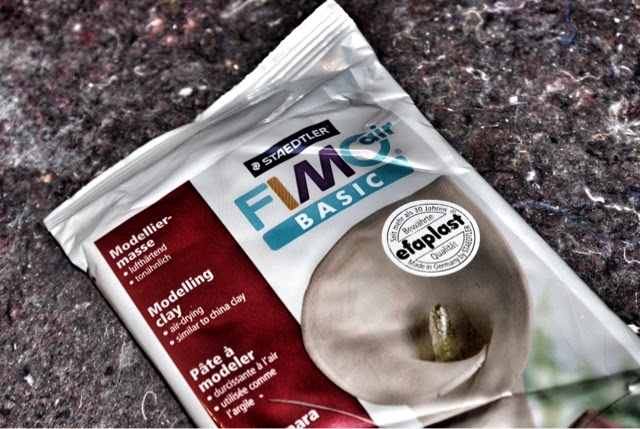
- having bought some air drying modelling clay quite some time ago, i decided to use it to make my numbers
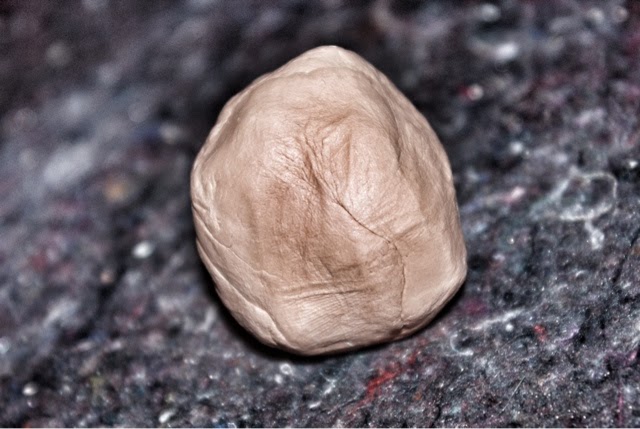
- take some clay out of the package and close and seal it again as airtight as possible
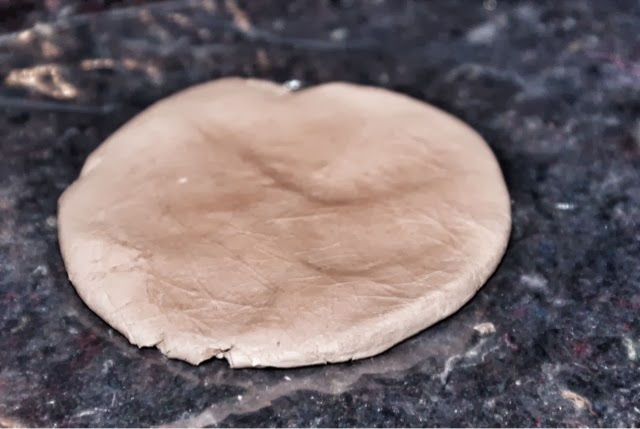
- flatten the clay ball with your hands
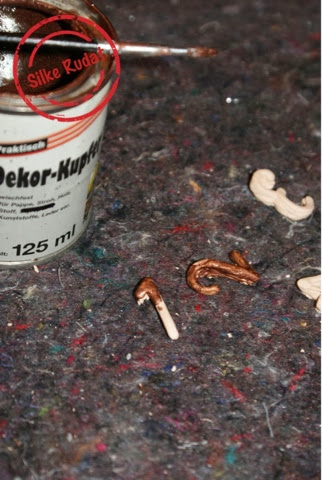
- depending on your required thickness of the clay, you might want to use the paint tin to roll it out even thinner
- if you don't have any number cookie cutter, you can use your stencil, too
- press the stencil firmly onto the clay until it squezzes out of the stencil
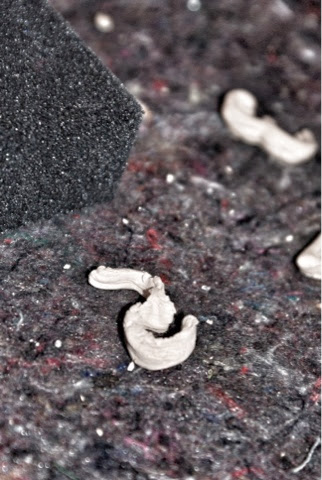
- remove the numbers carefully and let them air dry
- as the surface of the backside might be bit uneven, you can sand it carefully
- paint the numbers with copper paint
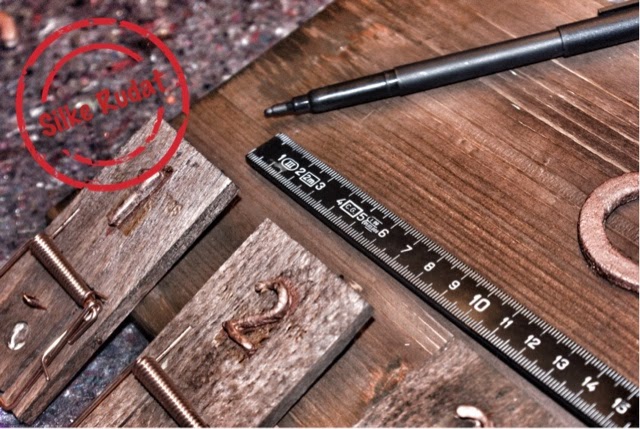
- hot glue the numbers onto the mouse traps
- they now look much better
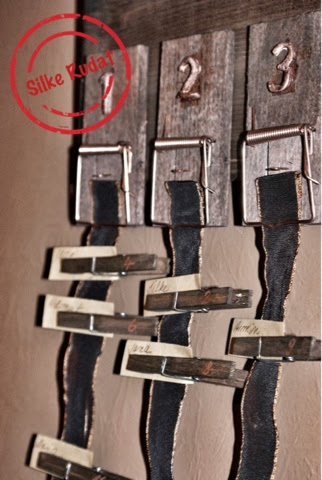
- mark the position of the mousetraps onto the wooden board
- hot glue the mousetraps onto the board
- cut a ribbon in the lengths of 50cms
- you need 12 of them
- add the numbers of the birthdays you require onto the clothes pegs using a copper gel pen
- if you do not have any small papers on hand, cut as many as you need
- fold the paper in halves
- if you paper is quite sturdy, you might not need to fold them and cut them in halves
- write the names of your family members and friends onto top left corner of the folded paper
- attach the names to the numbered clothes pegs and clip them onto the ribbons of the respective months
- and here we go
- a very personal birthday calendar