
...and one more unique advent calendar...and this one is for myself...i just thought, after making quite a few for my family...i deserve one myself, too.
i always liked those clear plastic balls and never knew what to do with them...then i came across this beautiful advent calendar two years ago..and kept the link to get back to this gorgeous idea one day.
...and finally the day has come.
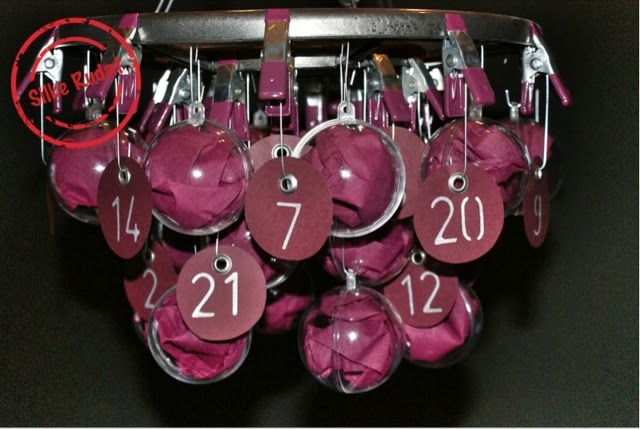
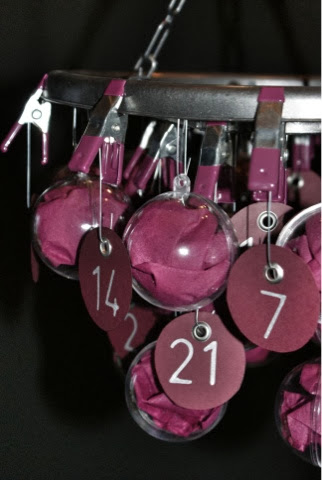
first i could not make up my mind how to hang this beauty and at the end i chose a round dry airer...gave it a little metall finish by spray painting it and it does not only save some space...it also looks really pretty.
...now just have to organise of a few sweet treats for myself...yummy...!!!


this is what you need

- fourty-eight clear plastic balls halves
- coloured paper napkins
- matching paper or gift tags
- circle stencil
- twenty-four metal clamps
- twenty-four eyelets
- eyelet tool
- scissors
- nylon thread or ornament hooks
- pen
this is what you have to do
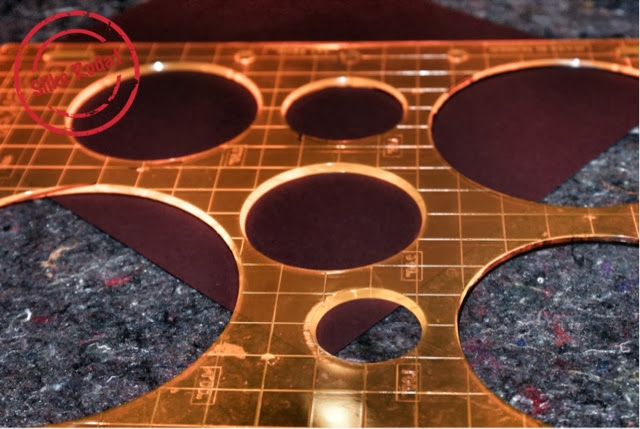
- place the stencil onto you paper

- choose the right size of the circles
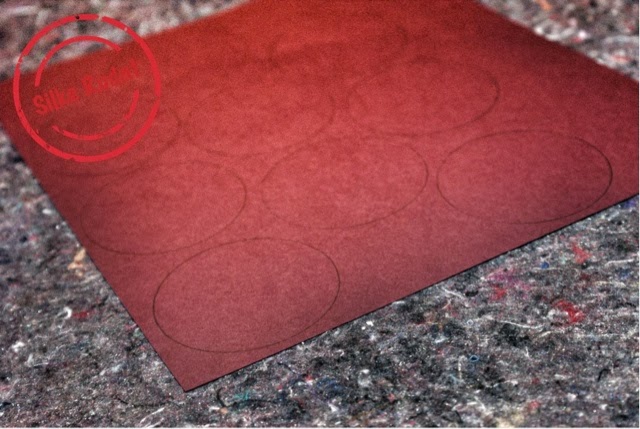
- draw twenty-four circles onto the paper

- use small scissors

- cut out your circle
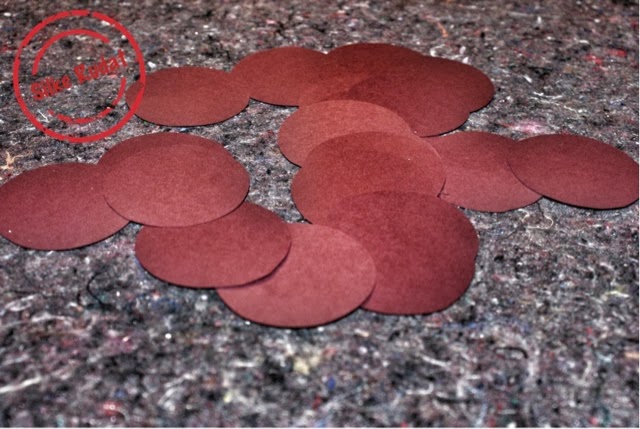
- set your twenty-four circles aside

- punch a hole in the upper part of the circle

- keep you eylet ready

- position it inside the hole

- place the paper onto the eylet tool
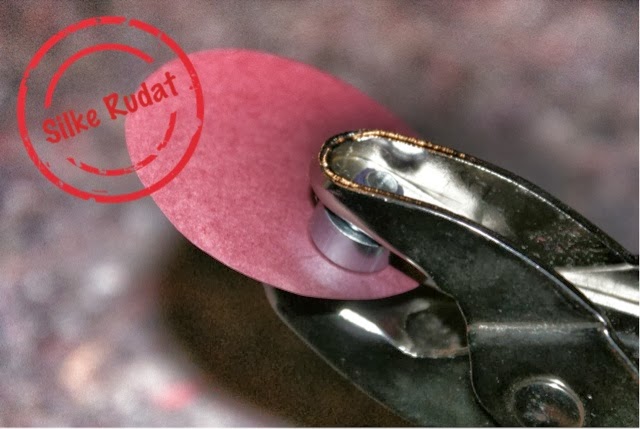
- squeeze the tool together

- and here we go...an eylet inside the paper
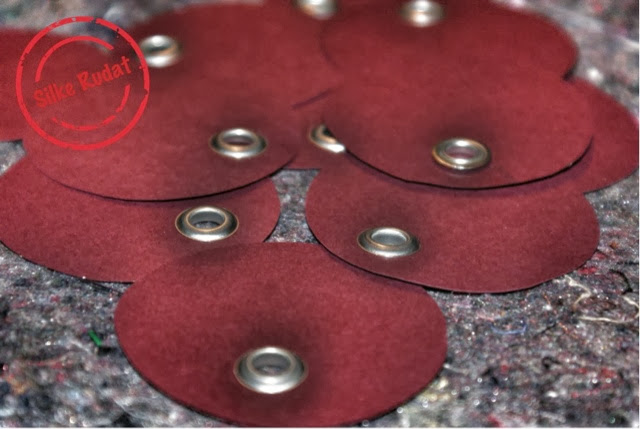
- twenty-four paper circles with eylets

- number the paper circles
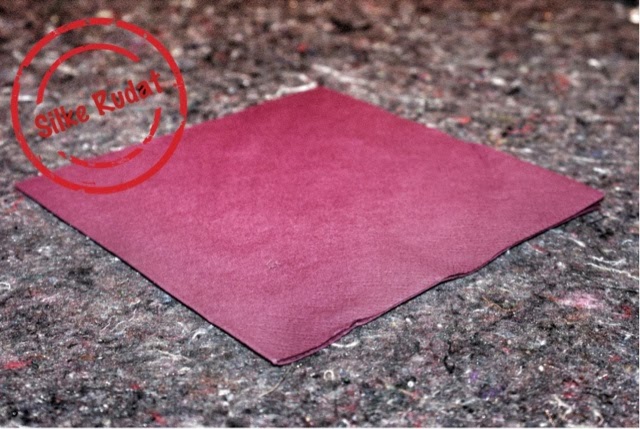
- get your paper napkins ready

- unfold your napkin

- cut it into halves

- if you are using smaller balls, cut it into quarters


- separate all layers from your napkin...i used three ply napkins and smaller balls, so i only needed two napkins

- keep two half plastic balls ready

- place one layer of the napkin inside one half
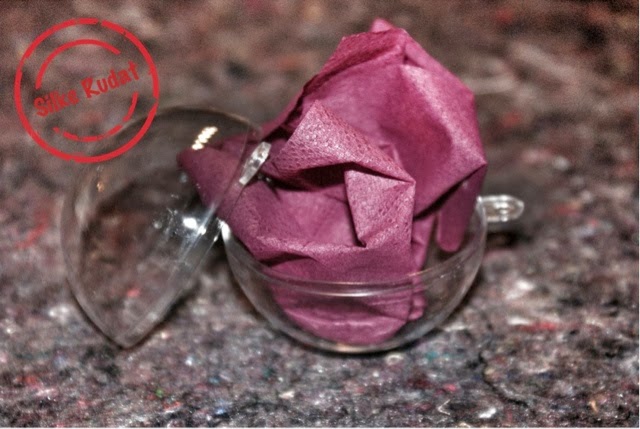
- place your little gift inside the paper
- close the ball by adding the second half ball

- repeat with the remaining twenty-three balls

- attach the clamps to the peg airer

- insert the ornament hooks
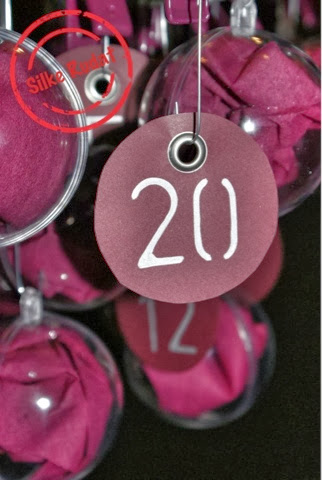
- attach the numbered paper circles and plastic balls

- vary the lengths by choosing hooks in different sizes or attaching one hook onto another

- if you wish you can add some decoration
I got inspired by raumdinge, where you can find a template for the numbers.