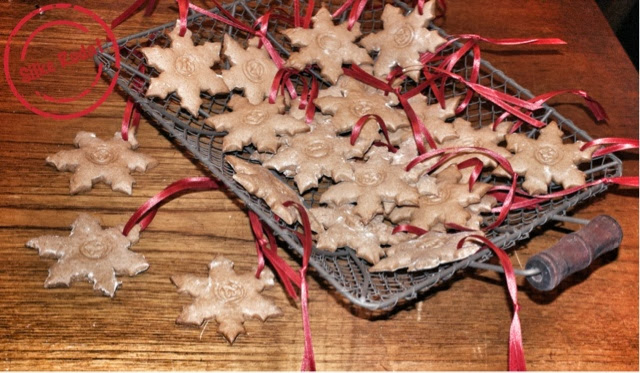
...one christmas carol a day...this is such a nice idea for an advent calendar for the little ones...especially for those, who will have traditional advent calendars already.
this is perfect for the christmas spirit around the house...hopefully the kids will be really excited and sing along everyday...
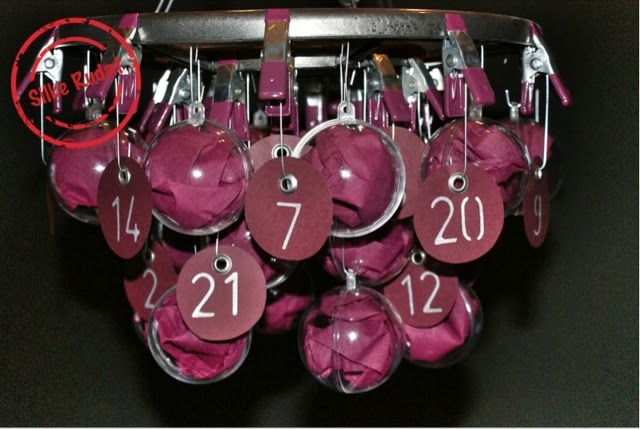
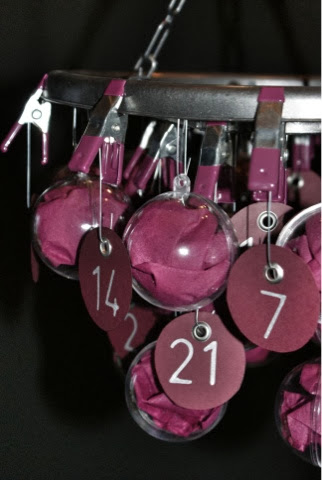
...this might be quite challenging for the parents, that's why this advent calendar comes together with an advent calendar for them...including the lyrics of the christmas choral for each day.
all you need to do is to choose twenty-four popular christmas carols for children...burn each song onto a single cd, wrap it individually and number it.
...i am so in love with this idea and hope my little nephews will do the same.
this is what you need
- twenty-four cd's
- twenty-four christmas carols for children
- twenty-four sheets or color coordinated paper in size din a4
- or gift wrapping paper to cut in size din a4
- felt
- satin ribbon
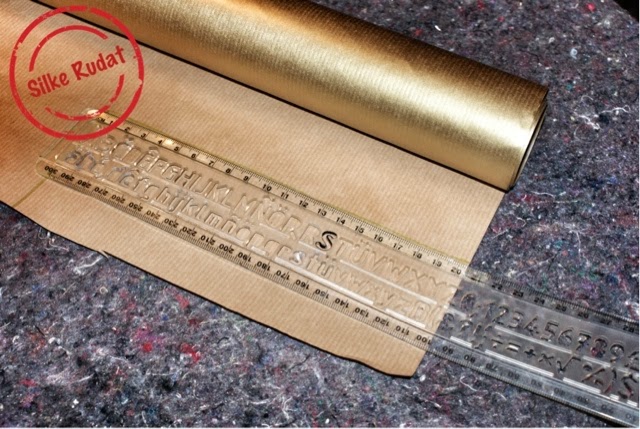
- golden kraft paper
- circle stencil
- ruler
- pen
- scissors
- double sided tape
- hot glue gun
this is what you have to do
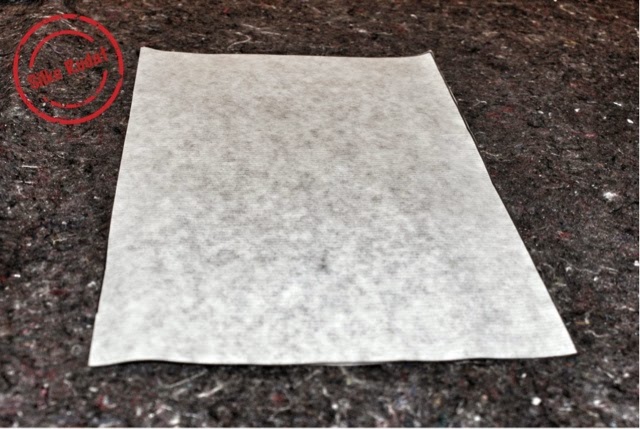
- use a din a4 sheet of paper as a template
- try to fit as many sheets as possible onto the gift wrapping paper
- cut them out...you need twenty-four in total
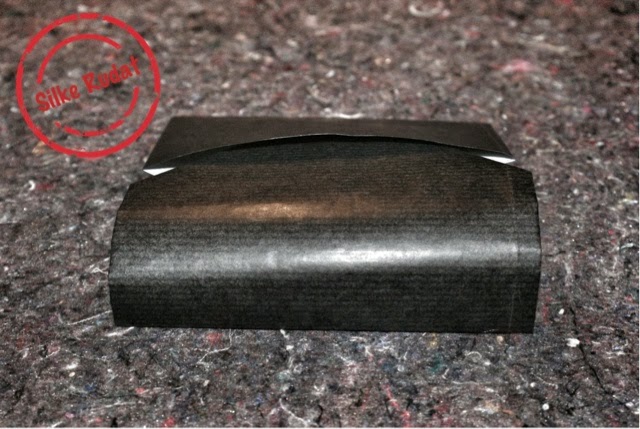
- lay the paper flat on your table
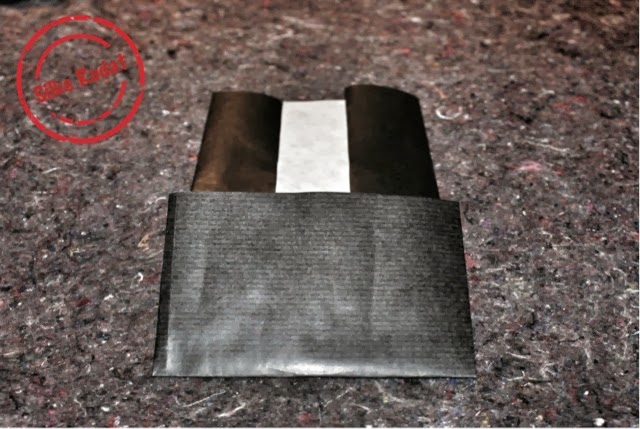
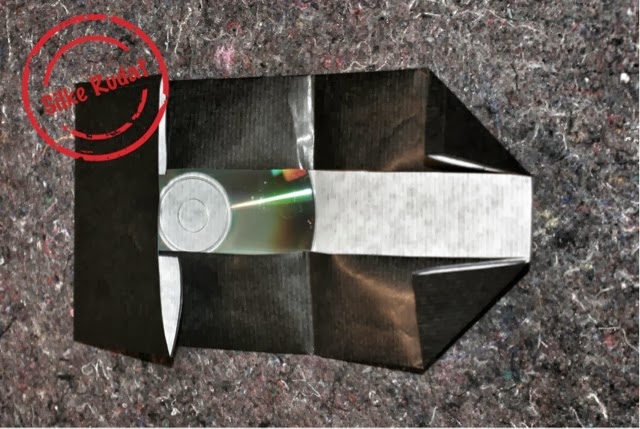
- place a cd in the middle of the sheet of paper
- fold in the left long side of the paper until it touches the edge of the cd aligned to the other edge
- fold the right side of the sheet so that the edge of the cd rests within the fold
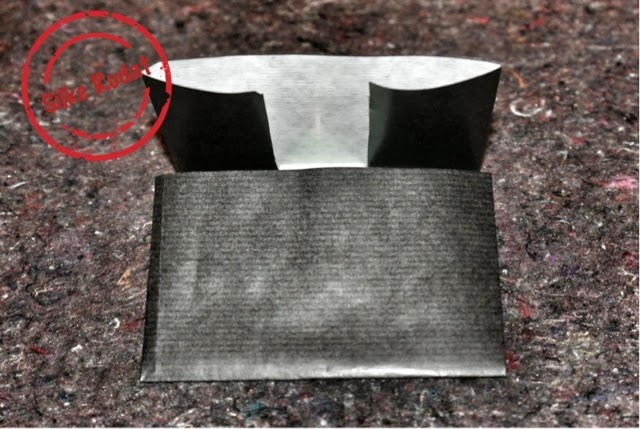
- fold the bottom to the center
- fold down the top half of the paper
- dog- ear the top two corner of the top half of the paper
- tuck the resulting flap inside the opposite flap
- slip into the pocket
- the final model should be square
- here you can find a great pictured tutorial
- you need to create twenty-four of the cd covers
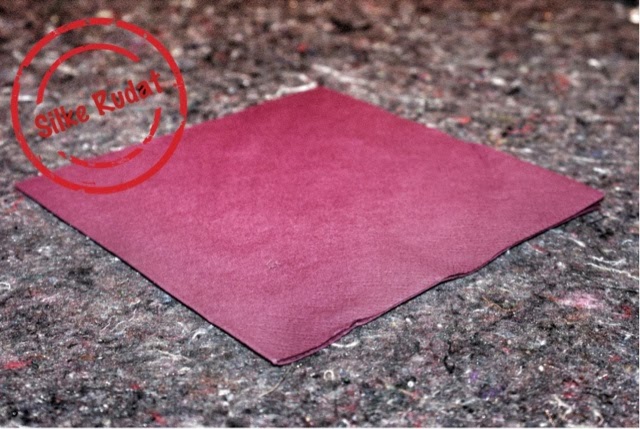
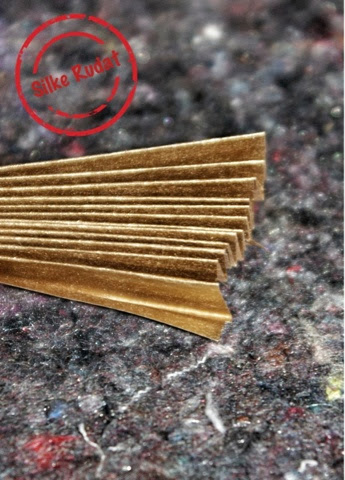
- mark stripes in the width of 7,5 cm
- and the length of 20 cm
- cut out twenty-four of those
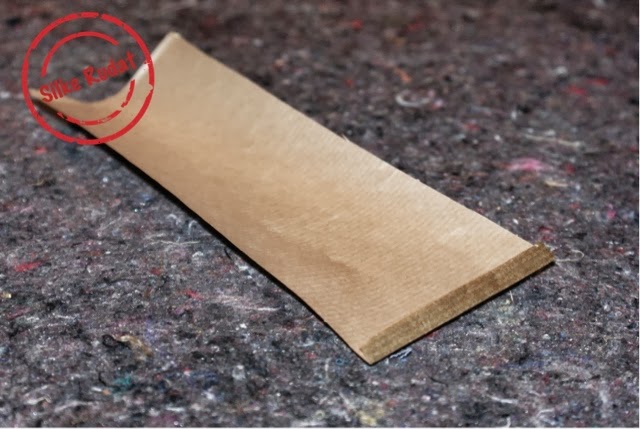
- fold your paper
- back and forth
- create an accordion shape
- the whole piece of paper should look like this
- don't worry if the edges are uneven
- you can easily remove the edges at this stage
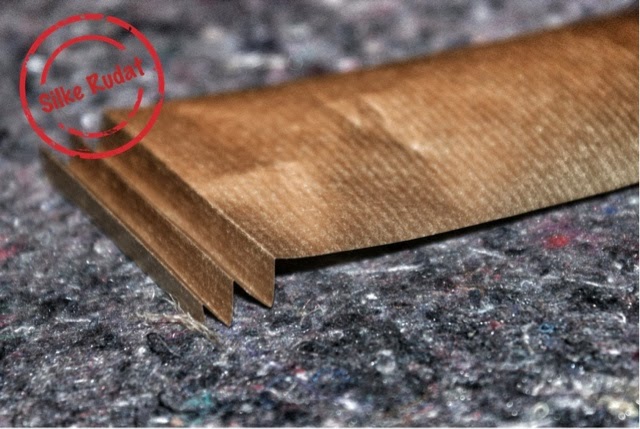
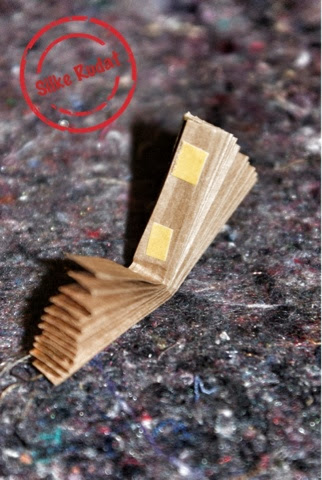
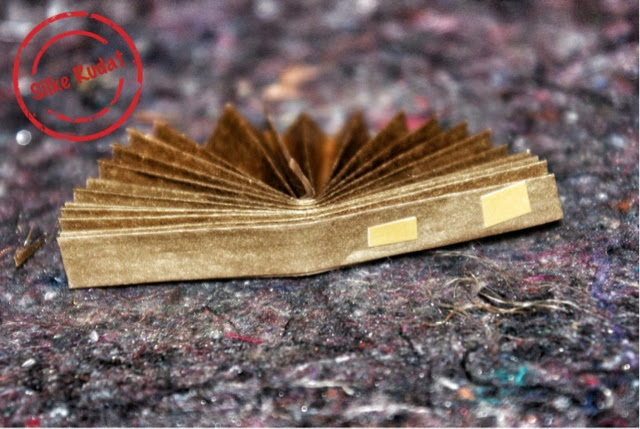
- fold the paper into half
- of course you need twenty-four of those
- put some tape along the inside of the fold
- stick the sides together
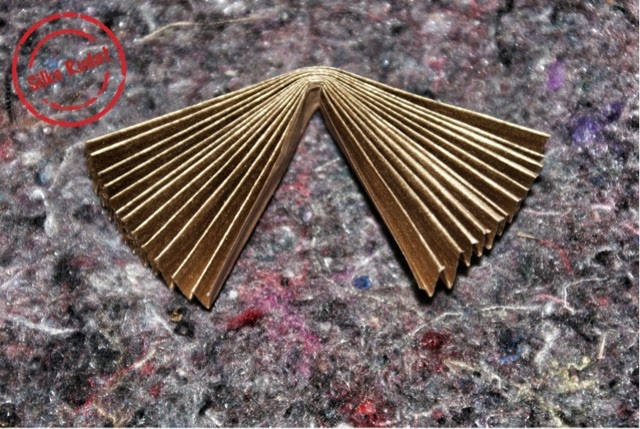
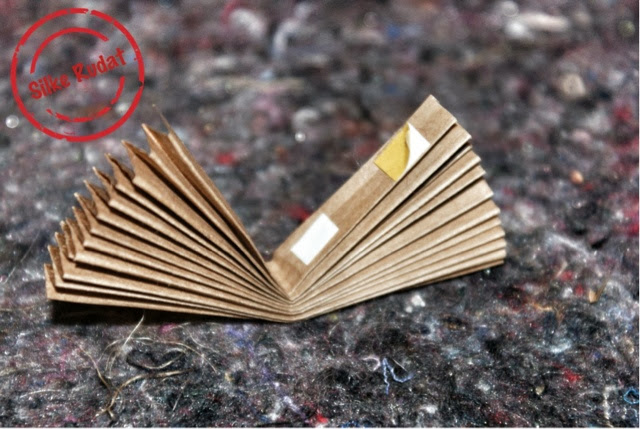
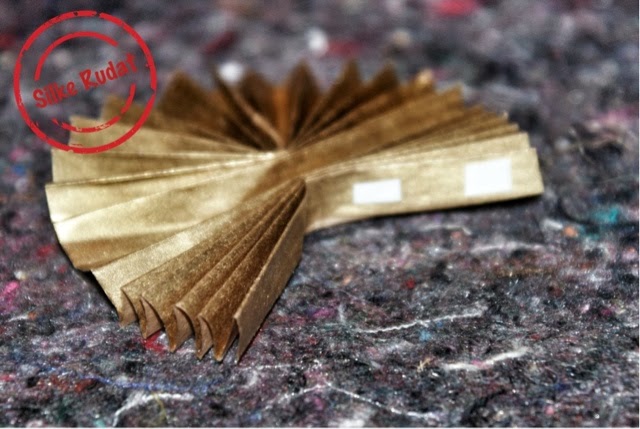
- open up your rosette into a half circle
- add some more tape along the remaining edges
- glue the insides and stick the sides together
- add even another tape in the middle of the rosette to keep in place
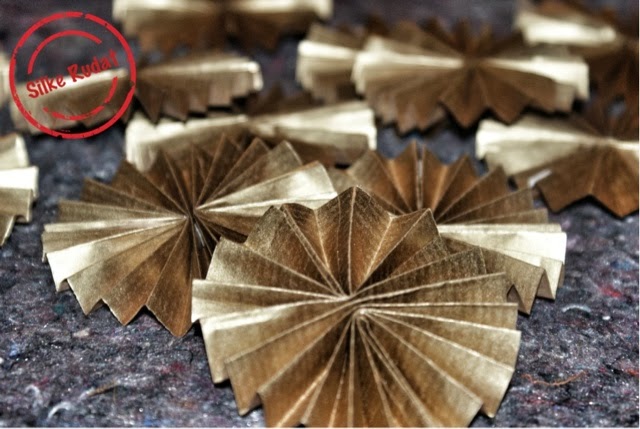
- open up your rosette into a circle
- and yes...twenty-four of those
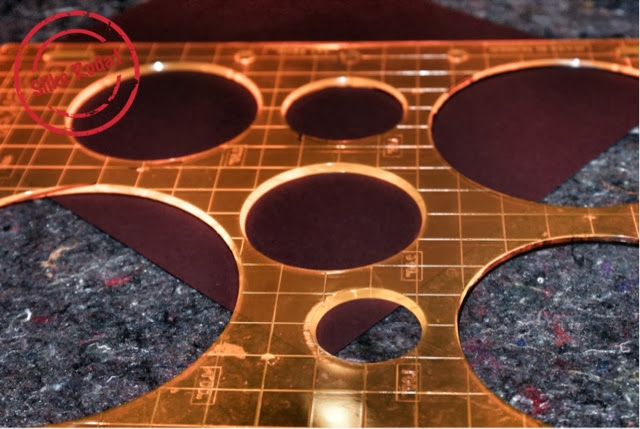
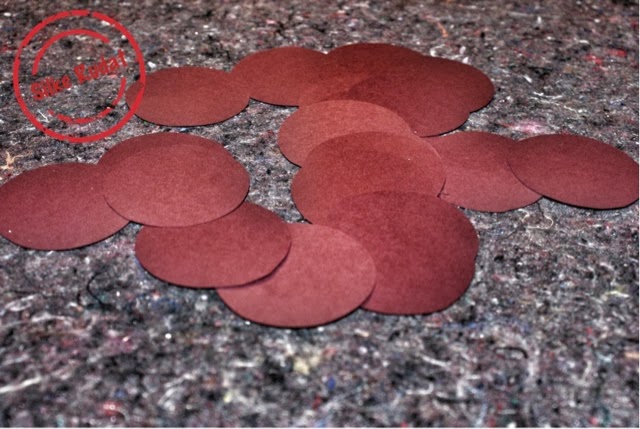
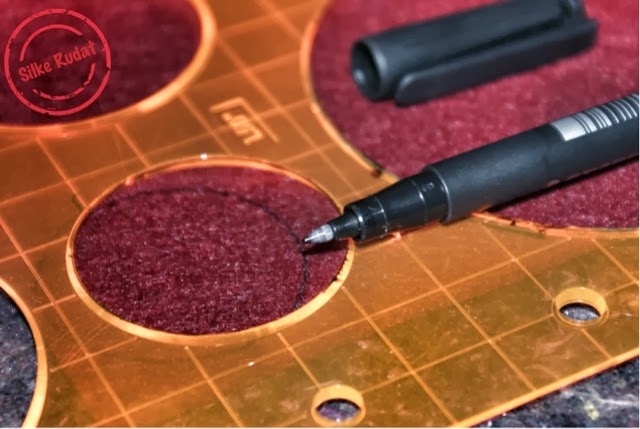
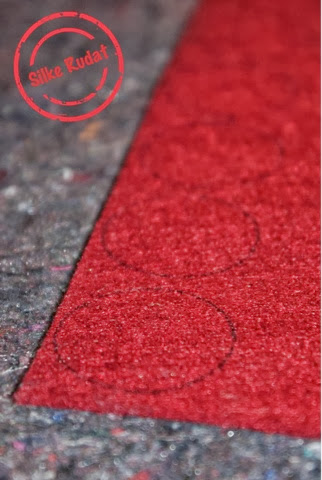
- using a stencil
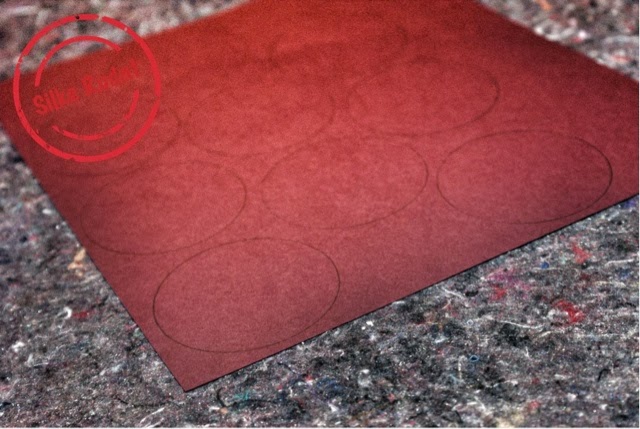
- draw small circles onto the piece of felt
- cut them out
- twenty-four of them
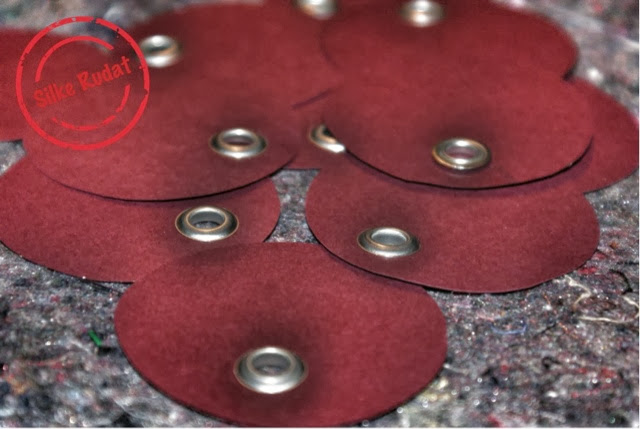
- number the felt circles
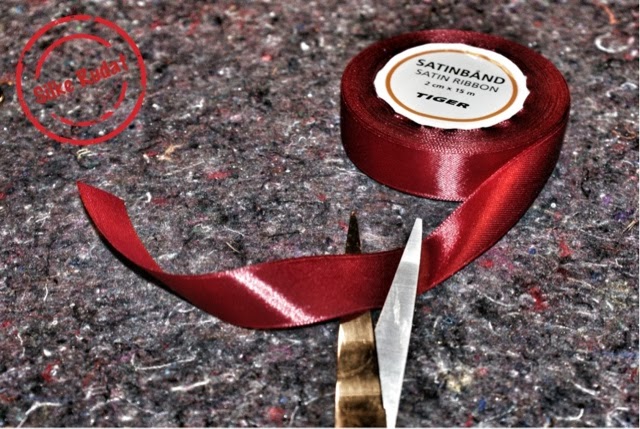
- cut your ribbon
- when it comes to the length of the ribbon, it is totally up to you
- you do need fourty-eight of those
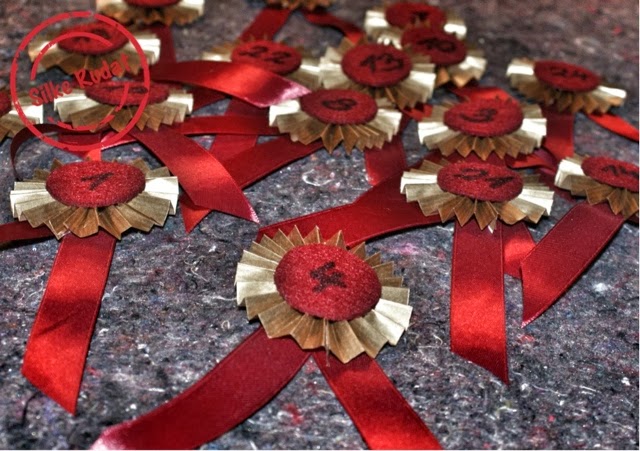
- position two ribbon onto the back of the paper rosette
- affix them with hot glue and let it dry
- hot glue the felt circles onto the center of the top of the rosette
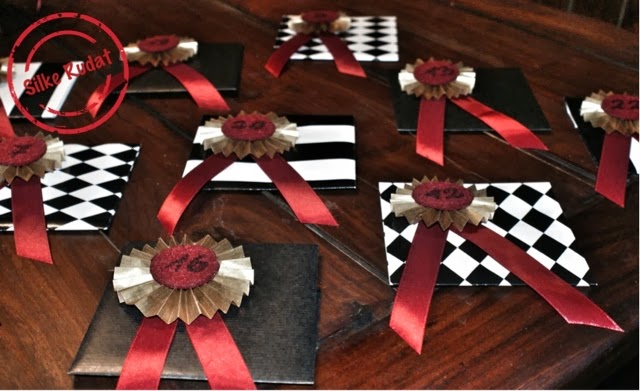
- glue the numbered rosette medals onto the left corner of the top of the cd cover
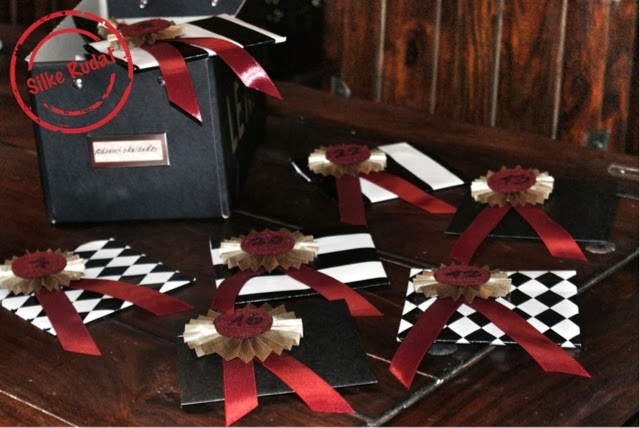
- and here we go
- now you have just have to burn one christmas carol onto each of the twenty-four cd's and insert them into the beautiful covers
- as mentioned before i would like to encourage the parents to sing with the kids everyday.
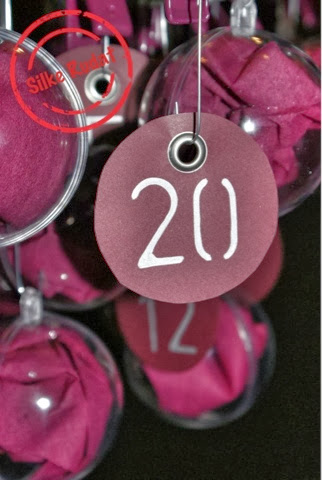
- and to make their life easier i decided to create their own advent calendar by writing down the lyrics of each christmas carol, rolling them and adding ribbons and numbered gift labels.