it does take quite some time to finish this project...especially the drying process...it took me two days until the bowl to be ready for the spray-paint coat.
...the wrapping and gluing turned out to be bit of a mess...but it was still a lot of fun.
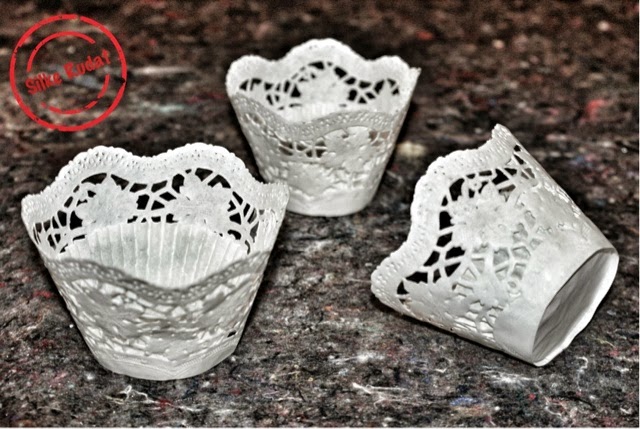
i am still not sure, if i prefer the plain twine bowl or the spray-painted bowl...and i guess it is just a matter of the occasion.
hopefully you'll enjoy the tutorial and of course the outcome, in case you choose to try it yourself.


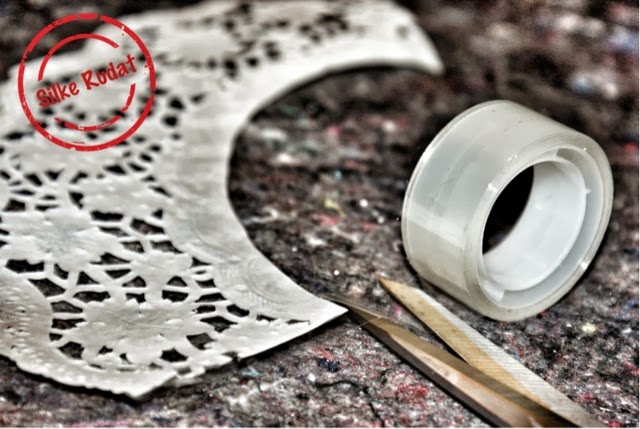
this is what you need

- paper maché glue
> ½ cup starch and 2 cups of cold water combined in a bowl
> boil 2 cups of water in a sauce pan
> add the starch and cold water mixture
> add the starch and cold water mixture
> bring to a boil again
> remove from heat and add 3 tablespoons of sugar
> let cool...the paste will thicken
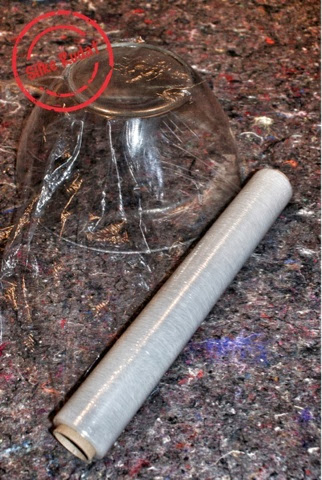
- glass bowl
- cling film
- brush
- twine
- hairspray
- crochet needle
- thread
- needle
- spray paint
- scissors
this is what you have to do

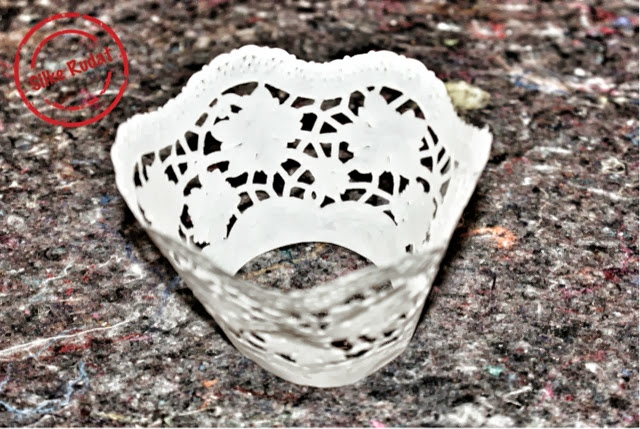
- cover the outside of your bowl with cling film
- ensure the entire bowl is covered

- pour your paper maché glue into the smaller bowl

- apply glue with a brush onto the cling film covered bowl

- start wrapping the twine around the bowl, starting on the top of the bowl, which is actually the bottom, if you turn the bowl upside down

- keep on wrapping the bowl tightly

- keep on wrapping

- apply some glue on top of the twine, once in a while


- it might be easier for you to dip the twine into the bowl with the glue, instead

- the most dfficult part is the bottom of the bowl, ensure to cover the entire bottom otherwise it won't be able to stand alone and hold anything inside ( i learnt the hard way )

- cut the twine and hide the end somewhere on the inner side

- let the glue dry...it took me two days to have it dried completely

- turn the bowl aound

- carefully remove the twine bowl from the cling film covered bowl
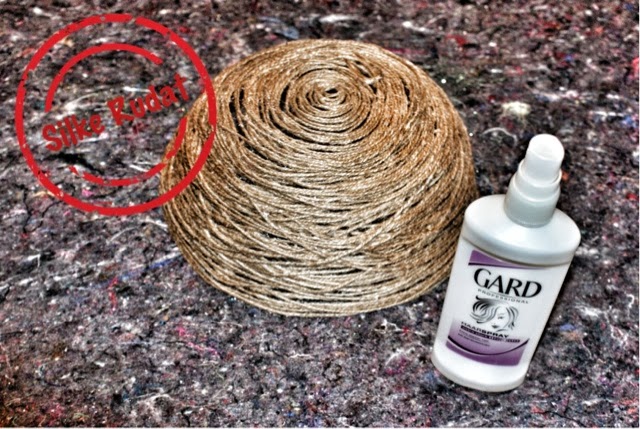
- apply some hairspray all over the bowl

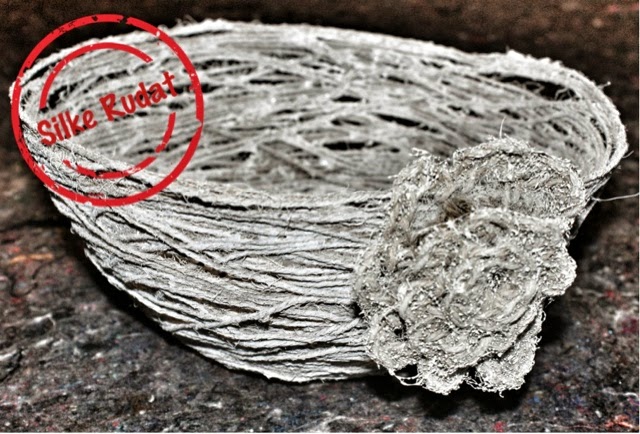
- and here we go...the very basic twine bowl

- you might want to spray-paint the bowl for a more shabby look

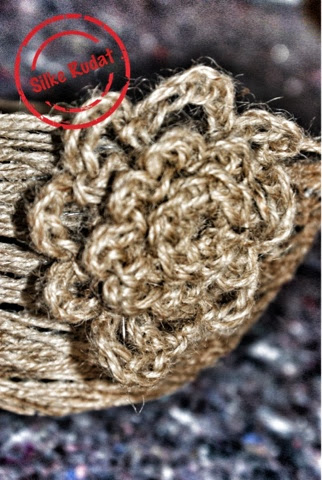
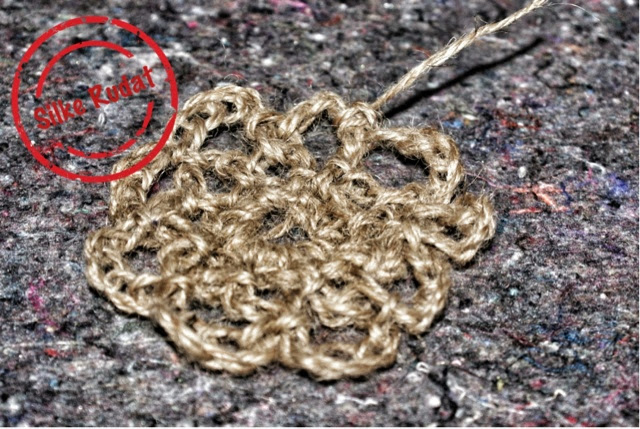
- or you might want to decorate the bowl...i used a simple twine crochet flower

- or you can add a flower and spray-paint...it is up to you
how to crochet a simple flower


my inspiration for the twine bowl will be found here